
Preparation and checking
- Make
- Alfa Romeo
- Model
- 145/146 Engines, 146 Bodywork and Engine Overhaul Manual
- Year
- 1994–2001
- Section
- Fixed bodywork components › Preparation and checking
146 bodyworkPreparation and checking
- Using a snipping machine, remove the accessible welding spots; remove the remaining welding spots using a drill.
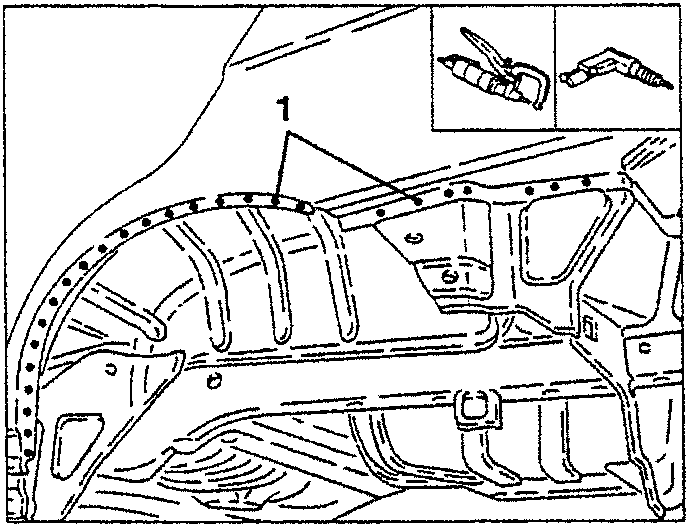
- Remove the rear mudguard.
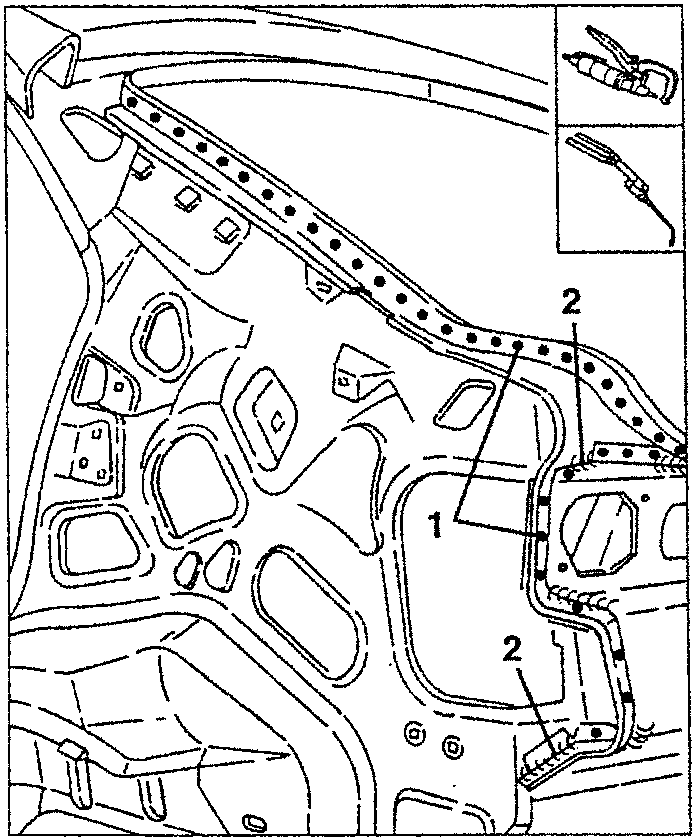
- Using a snipping machine, remove welding spots on the edges of the rear mudguard remaining on the body.
- Using an oxyacetylene blower, de-weld the rear area of the mudguard edges, then remove them.
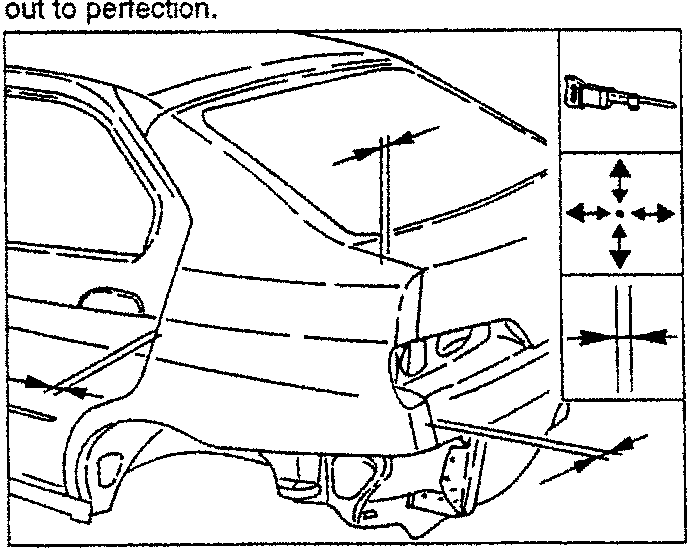
- Check the squareness, lights and angles refitting the components removed previously with the associated seals and parts which, once assembled make it possible to check that the operations have been carried out to perfection.
- Remove the assembled components to check for correct positioning of the rear mudguard.
- Using a circular blade saw, trim the sheet metal eliminating the excess, without damaging the sheet metal below.
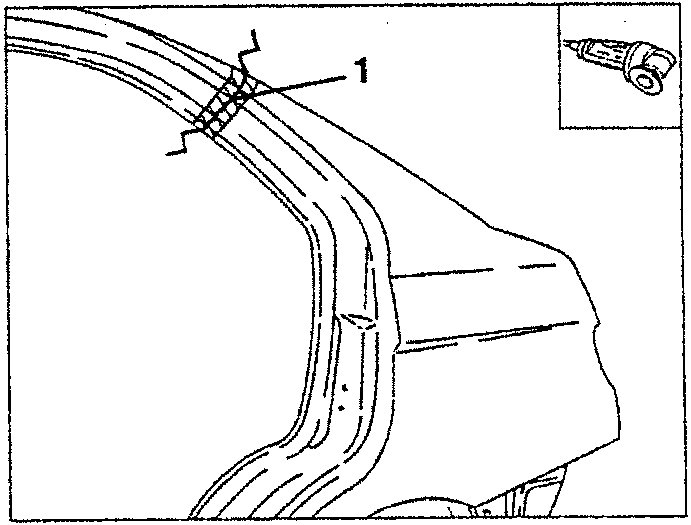
- Remove the mudguard, then working on the bench, trace it and drill (bit Ø 5 mm), as illustrated.
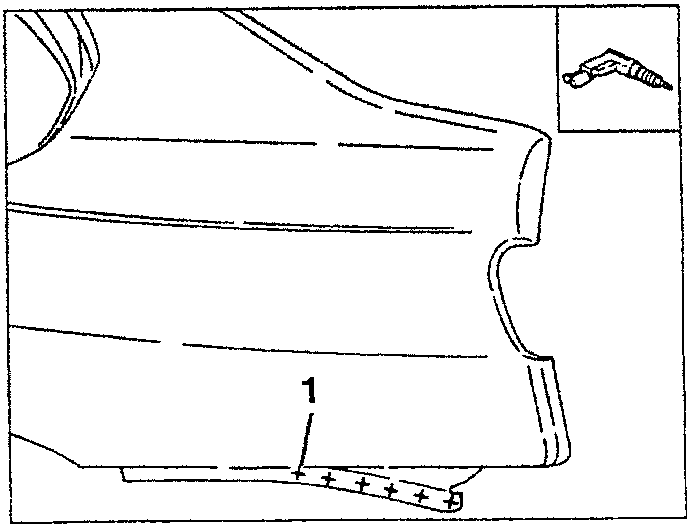
PREPARATION AND CHECKING
- On the bench with a reciprocating saw cut the new rear mudguard, keeping the same overlapping area.
- Temporarily assemble the rear mudguard.
Parts & tools for this job For 1994 Alfa Romeo 145/146
- TOOLTorque wrenchSearch: 3/8 inch torque wrench
- TOOLSocket setSearch: socket set metric
- BOOKHaynes manualSearch: Haynes manual Alfa Romeo 145/146
Links open Amazon search results in a new tab. As an Amazon Associate I earn from qualifying purchases.