
Switch - brake light
- Make
- Land Rover
- Model
- Discovery II (UK)
- Section
- Repairs › Switch - brake light
BrakesSwitch - brake light
Switch - brake light
$% 70.35.42
The brake switch is set automatically during fitment. If the setting is disturbed, the switch can be reset by depressing the brake pedal and pulling the plunger out of the switch body, until it contacts the pedal.
Remove
- Remove 3 fasteners and move drivers side lower closing panel aside.
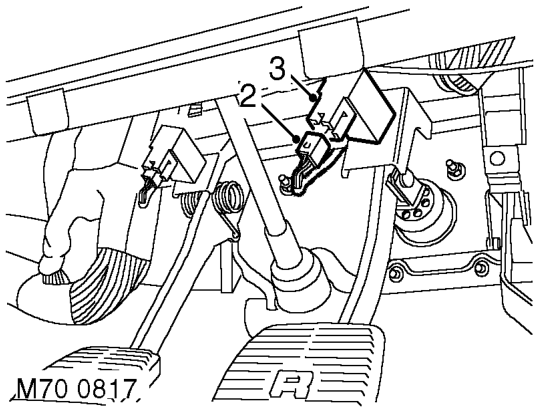
- Disconnect multiplug from brake light switch.
- Remove brake light switch from pedal bracket.
Refit
- Engage switch fully into pedal bracket location and connect multiplug.
- Position lower closing panel and secure with fasteners.
Brake pads - front
$% 70.40.02
WARNING: Brake pads must be renewed in axle sets only, otherwise braking efficiency may be impaired.
Remove
- Raise front of vehicle.
WARNING: Do not work on or under a vehicle supported only by a jack. Always support the vehicle on safety stands.
- Remove road wheel(s).
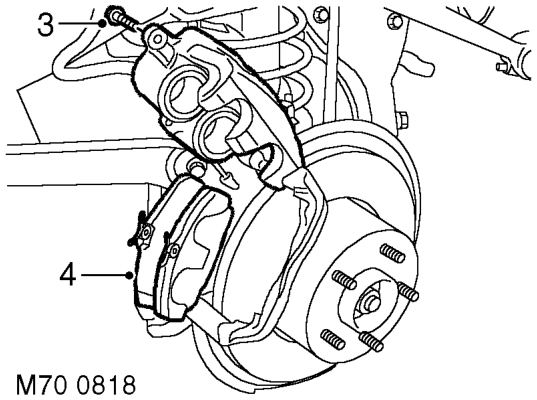
- Remove lower guide pin bolt from caliper and pivot caliper housing upwards.
- Remove 2 brake pads from caliper carrier. Shims are part of the brake pads.
Refit
- Rotate disc by hand and scrape all scale and rust from around edge of disc.
- Scrape rust from pad locating surfaces on caliper.
- Clean dust from calipers using brake cleaning fluid.
WARNING: Do not use compressed air to clean brake components. Dust from friction materials can be harmful if inhaled.
Parts & tools for this job For Land Rover Discovery
- TOOLOBD2 scannerSearch: OBD2 scanner
- TOOLDigital multimeterSearch: automotive digital multimeter
- TOOLBack-probe test leadsSearch: back probe test leads
Links open Amazon search results in a new tab. As an Amazon Associate I earn from qualifying purchases.