
Valve clearance inspection [lf]
- Make
- Mazda
- Model
- MX-5 (NC) Factory Workshop Manual
- Year
- 2006–2008
- Section
- Mechanical › Valve clearance inspection [lf]
EngineValve clearance inspection [lf] · page 1 of 2
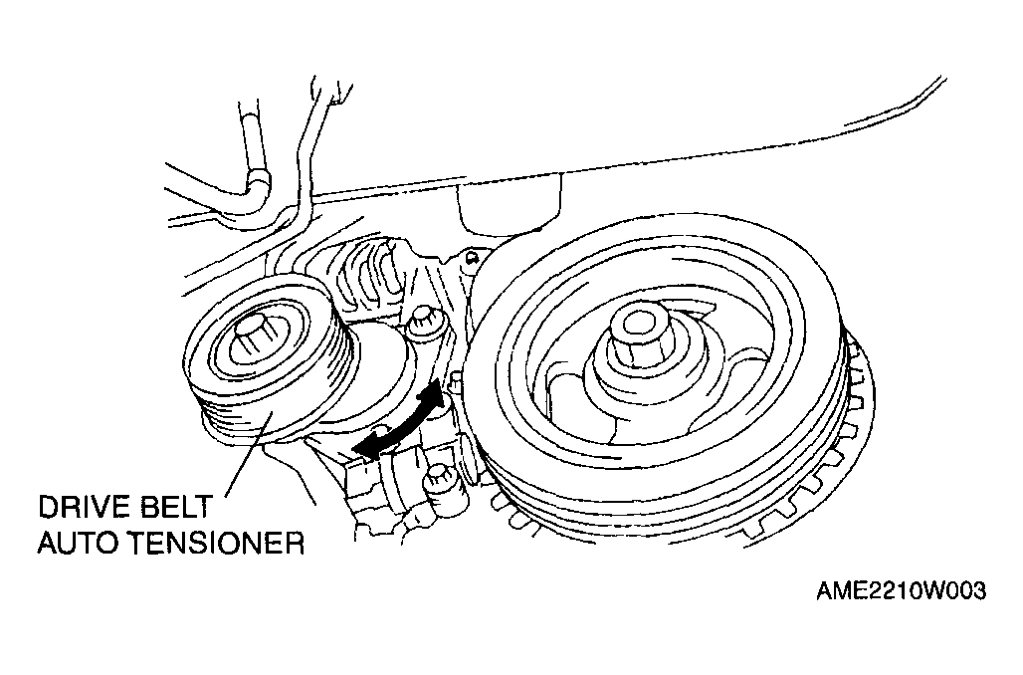
Courtesy of MAZDA MOTORS CORP.
- Install the drive belt. (See DRIVE BELT REPLACEMENT [LF] .)
- Install the battery and battery tray. (See BATTERY REMOVAL/INSTALLATION [LF] .)
VALVE CLEARANCE INSPECTION [LF]
- Remove the battery cover.
- Disconnect the negative battery cable. (See BATTERY REMOVAL/INSTALLATION [LF] .)
- Remove the plug hole plate. (See PLUG HOLE PLATE REMOVAL/INSTALLATION [LF] .)
- Disconnect the ventilation hose. (See QUICK RELEASE CONNECTOR (EMISSION SYSTEM) REMOVAL/INSTALLATION [LF] .)
- Remove the front suspension tower bar (joint). (See FRONT SUSPENSION TOWER BAR REMOVAL/INSTALLATION .)
- Remove the CMP sensor. (See CAMSHAFT POSITION (CMP) SENSOR REMOVAL/INSTALLATION [LF] .)
- Disconnect the OCV connector.
- Disconnect the P/S pressure switch connector.
- Remove the ignition coils. (See IGNITION COIL REMOVAL/INSTALLATION [LF] .)
- Remove the cylinder head cover. (See CYLINDER HEAD COVER INSTALLATION NOTE .)
- Measure the valve clearance.
- Turn the crankshaft clockwise so that the No.1 piston is at TDC of the compression stroke.
Parts & tools for this job For 2006 Mazda MX-5
- PARTEngine gasket setSearch: Mazda MX-5 2006 engine gasket set
- TOOLTorque wrenchSearch: 3/8 inch torque wrench
- TOOLFeeler gauge setSearch: feeler gauge set
As an Amazon Associate we earn from qualifying purchases.