
Luggage compartment lid alignment
- Make
- Rover
- Model
- Coupé, Cabriolet & Tourer 200/400 Coupé, Cabriolet & Tourer Workshop Manual
- Section
- Exterior fittings › Luggage compartment lid alignment
BodyLuggage compartment lid alignment
LUGGAGE COMPARTMENT LID ALIGNMENT
Service Repair No. 76.19.04
- Close luggage compartment lid. Check top and sides of lid for alignment and flush fit to adjacent panels.
- Open luggage compartment lid.
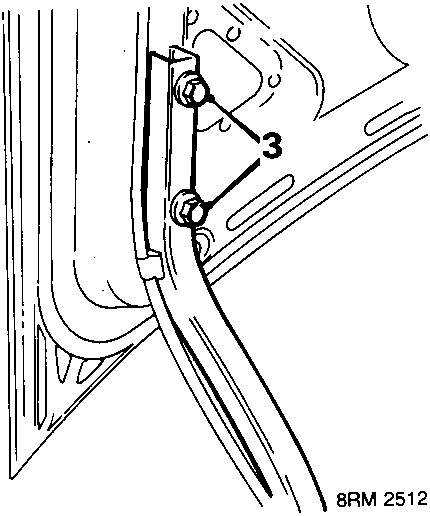
400 Series illustrated
- Slacken 4 bolts, hinges to lid.
- Adjust position of lid to be flush with top and rear edges of each wing and equal spaces between each side of lid and body.
- Tighten hinge bolts to 10 Nm.
- Check position of lid, re – adjust as required.
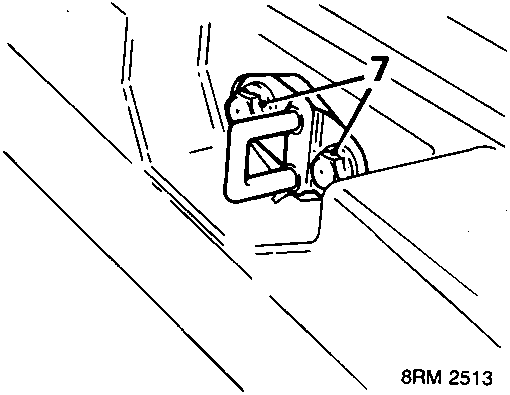
- Slacken 2 striker plate bolts.
- Close then open lid.
- Tighten striker plate bolts.
- Close lid to striker plate and check for correct contact between striker and lid lock. Re – adjust as necessary.
- Close luggage compartment lid.
TAILDOOR ALIGNMENT – TOURER
Service Repair No. 76.28.31
Remove
- Remove luggage compartment cover.
- Remove headlining rear finisher, see Headlining rear finisher – Tourer.
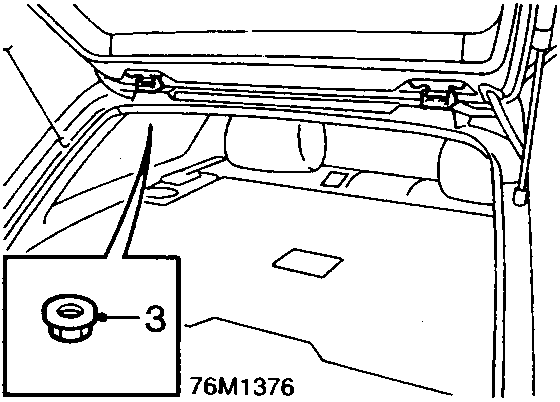
- Remove nuts securing one of the taildoor hinges to the body.
- Slacken nuts securing the other hinge to body.
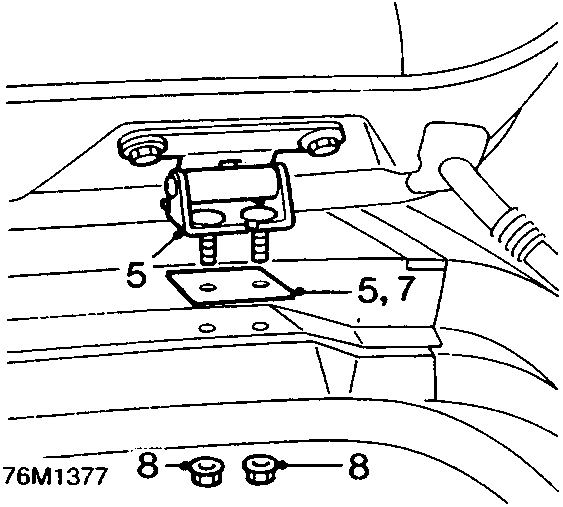
- Release the hinge with the nuts removed from body and remove gasket.
- Clean sealant from hinge and body.
- Fit new gasket to hinge.
- Align hinge studs to body, fit but do not fully tighten nuts.
- Repeat procedure 3 to 8 for other hinge.
Parts & tools for this job For Rover Coupé, Cabriolet & Tourer
- TOOLTie rod end toolSearch: tie rod end puller
- TOOLBall joint separatorSearch: ball joint separator
- FLUIDPower steering fluidSearch: Rover power steering fluid
Links open Amazon search results in a new tab. As an Amazon Associate I earn from qualifying purchases.