
Refit
- Make
- Rover
- Model
- Coupé, Cabriolet & Tourer 200/400 Coupé, Cabriolet & Tourer Workshop Manual
- Section
- Exterior fittings › Refit
BodyRefit
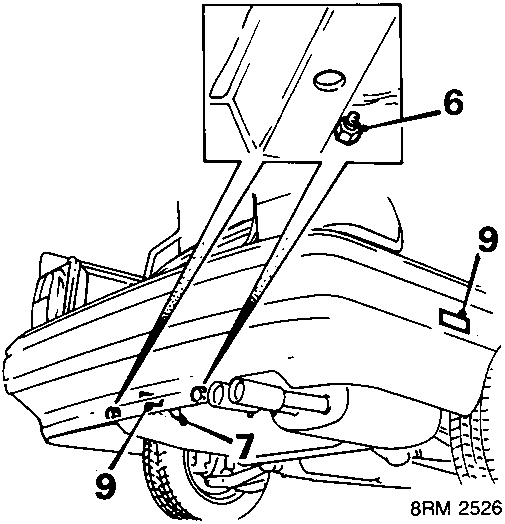
- Remove 2 nuts and washers, rear bumper to body well.
- Remove bolt, bumper to spare wheel pan.
- Remove screw, L.H. wheel arch liner to wheel arch.
- Using assistance, release both clips from bumper, slide bumper to the rear.
- Using assistance, remove bumper from vehicle.
Refit
- Using assistance, fit bumper to clips on either side of body.
- Fit nuts and washers, bumper to rear panel of luggage compartment. Tighten nuts to 22 Nm and fit grommets to rear panel.
- Fit nuts and washers, bumper to body. Tighten nuts to 22 Nm.
- Fit bolt, bumper to spare wheel well. Tighten bolt to 10 Nm.
- Fit screws, wheel arch liners to wheel arches.
- Close luggage compartment.
- Remove stand(s) and lower vehicle.
REAR BUMPER – COUPE
Service Repair No. 76.22.15
Remove
- Raise rear of vehicle.
WARNING: Support on safety stands.
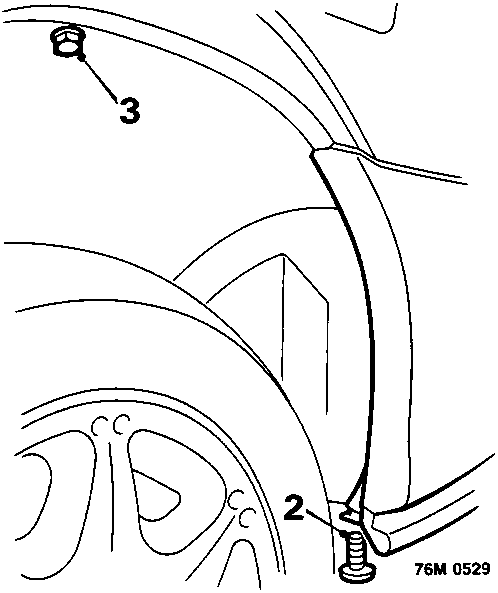
- Remove screw securing each side of bumper to wheel arch liner.
- Remove bolt from L.H. wheel arch liner and release liner from bumper.
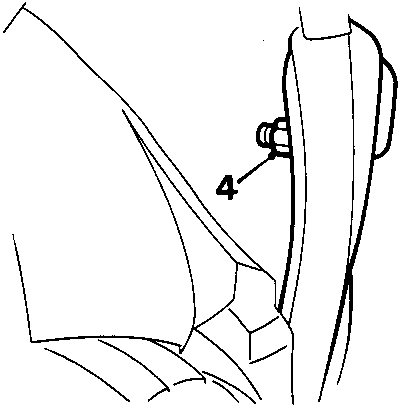
- Remove nut securing each side of bumper to body.
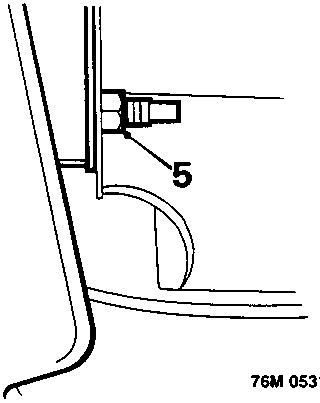
- From beneath vehicle, remove 2 nuts securing bumper to body, collect plain washers.
Parts & tools for this job For Rover Coupé, Cabriolet & Tourer
- TOOLTrim removal tool kitSearch: trim removal tool kit
- PARTTouch-up paintSearch: Rover touch up paint
- PARTPanel clip assortmentSearch: Rover panel clips assortment
Links open Amazon search results in a new tab. As an Amazon Associate I earn from qualifying purchases.