
Workshop Manuals Factory service & repair Rover
01 General information02 Information03 Maintenance04 Engine 1.4 K805 Engine 1.606 Engine 1.6 D.O.H.C.07 Engine 2.0 T1608 Engine management system - PGM-Fi09 Modular engine management system - SPi10 Modular engine management system - MPi11 Fuel delivery system12 Cooling system13 Manifold and exhaust14 Clutch15 Manual gearbox 1.416 Manual gearbox 1.617 Automatic gearbox18 Drive shafts19 Steering20 Suspension21 Brakes22 Body23 Heating and ventilation24 Air conditioning25 Wipers and washers26 Electrical27 Instruments28 Supplementary restraint system (SRS)
Rover 200/400 Coupé, Cabriolet & Tourer Workshop Manual22 · Body
22 · Body & interior

Backlight – cabriolet

Make
Rover
Model
Coupé, Cabriolet & Tourer 200/400 Coupé, Cabriolet & Tourer Workshop Manual
Section
Hood › Backlight – cabriolet
BodyBacklight – cabriolet

BACKLIGHT – CABRIOLET

Service Repair No. 76.61.15

Remove
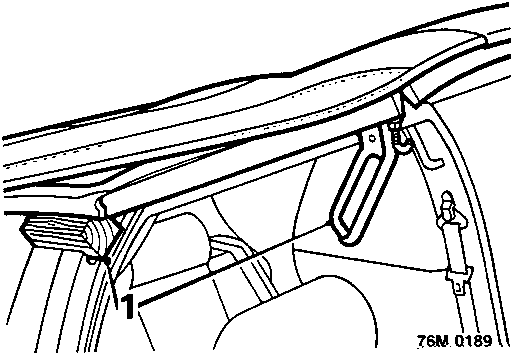
Diagram showing hood handles and wooden blocks placed between the top of a 'B' post and the underside of the hood frame, callout 1.
  1. Release hood handles, lift hood and place 50mm deep wooden blocks between top of each 'B' post and underside of hood frame.
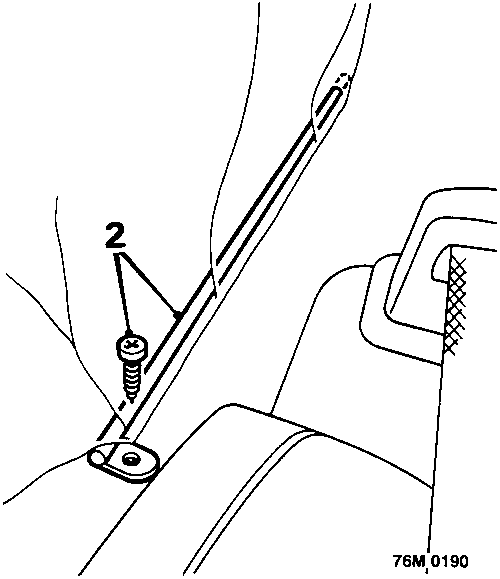
Diagram showing headlining tension rod screws being removed at either side of the rear shelf, callout 2.
  1. Remove headlining tension rod screws, at either side of rear shelf, and remove tension rods.
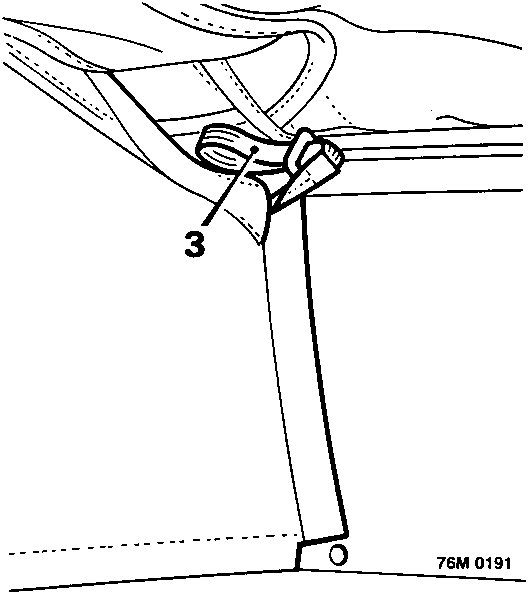
Diagram showing elastic straps at the rear of the headlining being released from hooks in the lower rail of the backlight, callout 3.
  1. Release elastic straps at rear of headlining from hooks in lower rail of backlight.
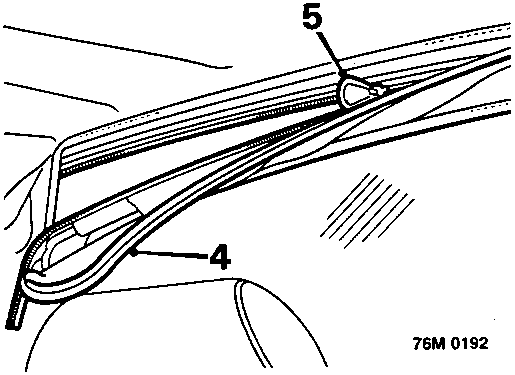
Diagram showing Velcro being peeled away from the top of the backlight to reveal the zip fastener (callout 4) and the zip itself (callout 5).
  1. Peel Velcro away from top of backlight to reveal zip fastener.
  2. Unfasten backlight zip and lay backlight in rear shelf.
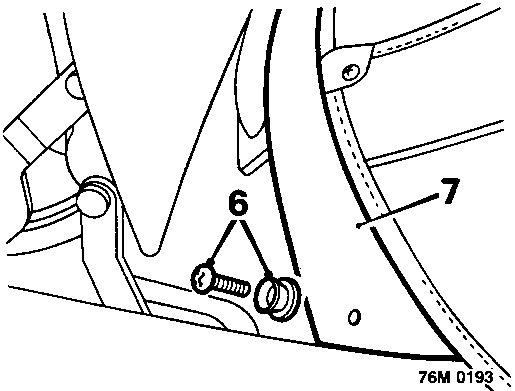
Diagram showing press studs (callout 6) and rubber finisher (callout 7) at the base of the backlight in the luggage compartment area.
  1. With luggage compartment lid open, unscrew and remove press studs from either side of rubber finisher at base of backlight.
  2. Remove rubber finisher.

Parts & tools for this job For Rover Coupé, Cabriolet & Tourer

Links open Amazon search results in a new tab. As an Amazon Associate I earn from qualifying purchases.