
Power hood
- Make
- Rover
- Model
- Coupé, Cabriolet & Tourer 200/400 Coupé, Cabriolet & Tourer Workshop Manual
- Section
- Hood › Power hood
BodyPower hood
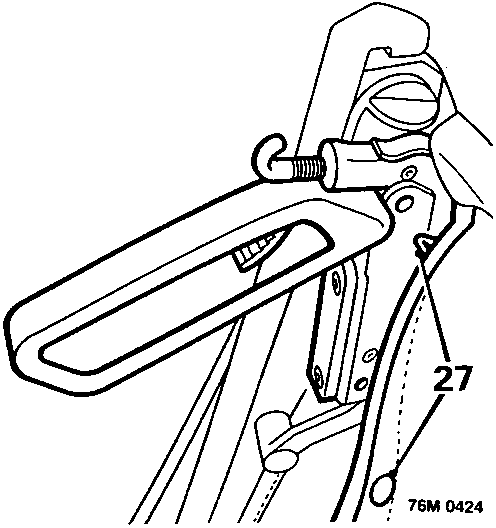
- Release 4 trim studs securing headlining to hood handles.
- Release headlining from adhesive on header rail.
- Remove cantrail seals.
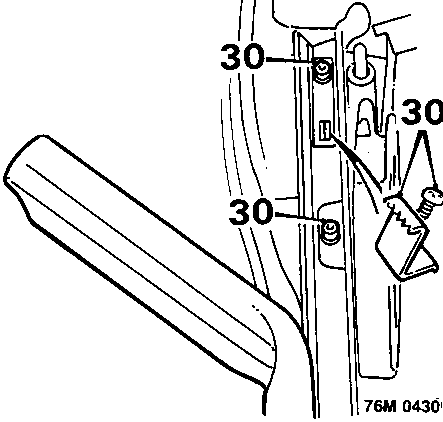
- Remove screws securing header rail to hood frame; collect cantrail seal clamps and screws.
- Remove hood outer covering, complete with interlayer and all bonded – in components.
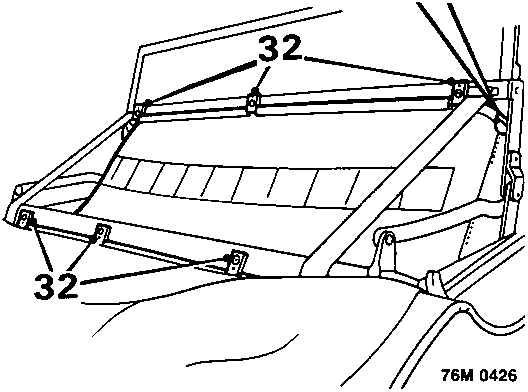
- Drill out 6 pop rivets securing headlining to hood frame and remove headlining.
- Fold hood frame into lowered position.
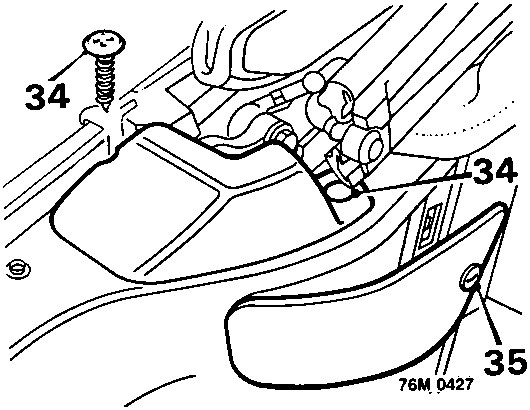
- Remove screw and fastener from each hood hinge cover and remove covers.
- Release turnbuckles and remove hood ram inspection covers from rear quarter trim panels.
Power hood
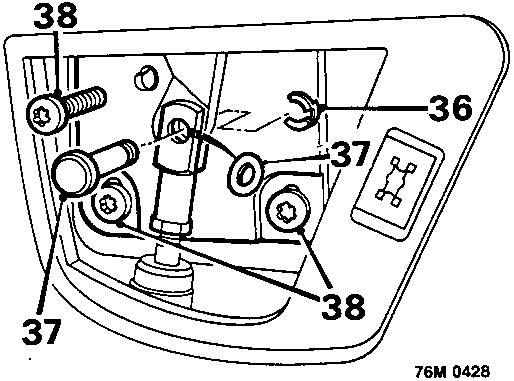
- Remove retaining clip from each clevis pin.
- Withdraw clevis pins and collect Belville washers from trunnions.
All models
- Remove 3 screws (TX40 Torx bit) from each hood hinge.
- With assistance, remove hood frame.
Parts & tools for this job For Rover Coupé, Cabriolet & Tourer
- TOOLTrim removal tool kitSearch: trim removal tool kit
- PARTTouch-up paintSearch: Rover touch up paint
- PARTPanel clip assortmentSearch: Rover panel clips assortment
Links open Amazon search results in a new tab. As an Amazon Associate I earn from qualifying purchases.