
Models with air conditioning
- Make
- Land Rover
- Model
- Freelander Workshop Manual
- Year
- 1998–2000
- Section
- Repairs › Models with air conditioning
Engine - L SeriesModels with air conditioning · page 1 of 3
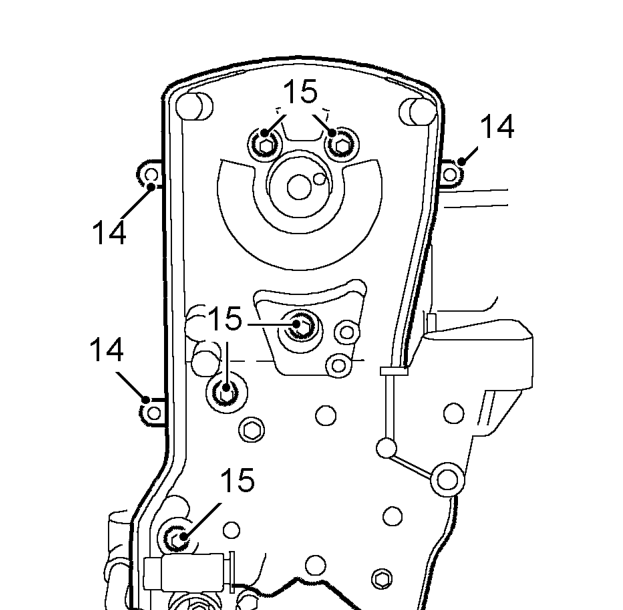
- Release engine harness clips from camshaft drive belt rear cover.
- Remove 5 bolts and remove camshaft timing belt rear cover.
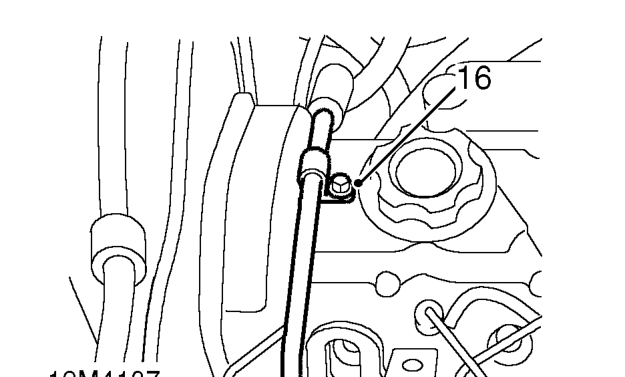
- Remove bolt securing brake servo vacuum pipe to camshaft cover.
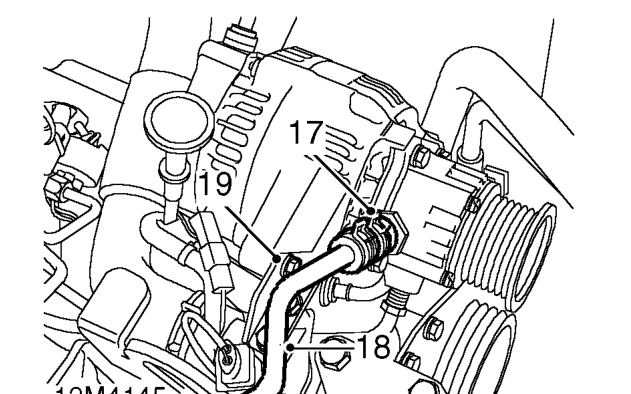
- Release clip and disconnect brake servo vacuum hose from vacuum pump.
CAUTION: Plug hose and pump.
- Move vacuum pipe aside.
Models with air conditioning
- Remove alternator upper fixing bolt.
All models
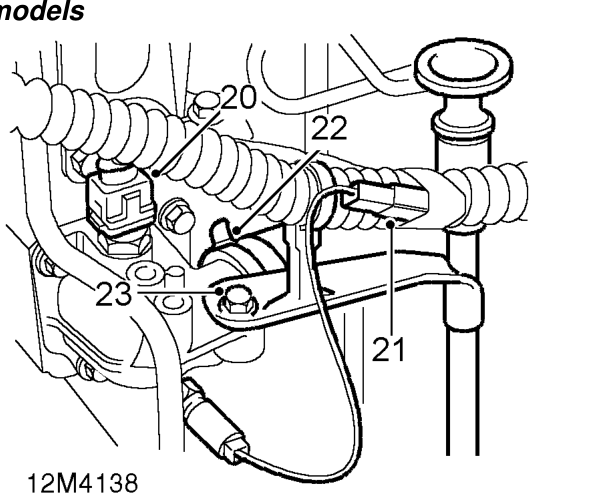
- Disconnect multiplug from coolant temperature sensor.
- Disconnect coolant temperature transmitter lead from engine harness.
- Release top hose clip and disconnect hose from engine.
- Remove bolt securing dip stick tube to coolant outlet elbow.
Parts & tools for this job For 1998 Land Rover Freelander
- TOOLA/C manifold gauge setSearch: AC manifold gauge set
- TOOLUV leak detection kitSearch: AC UV leak detection kit
- PARTCabin filterSearch: Land Rover Freelander 1998 cabin filter
Links open Amazon search results in a new tab. As an Amazon Associate I earn from qualifying purchases.