
Headlining – cabriolet (page 2 of 3)
- Make
- Rover
- Model
- Coupé, Cabriolet & Tourer 200/400 Coupé, Cabriolet & Tourer Workshop Manual
- Section
- Hood
BodyHeadlining – cabriolet · page 2 of 3
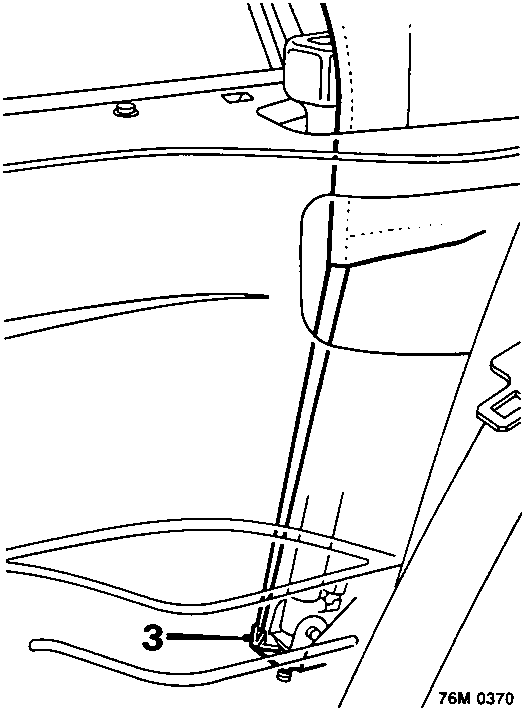
- Reach between hood strut and rear quarter trim panel to disengage elastic headlining strap from base of hood strut. Remove wire clip from headlining strap.
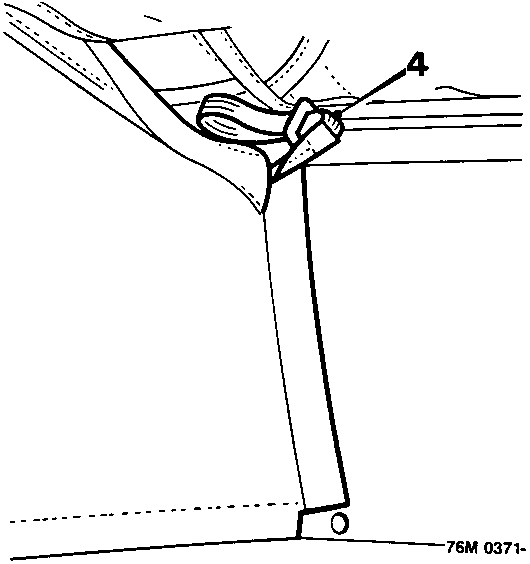
- Release elastic straps at rear of headlining from hooks in lower rail of backlight.
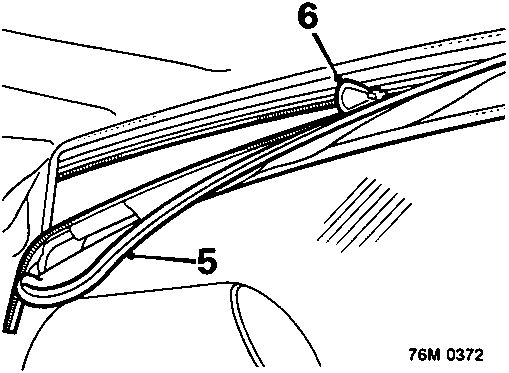
- Peel Velcro away from top of backlight to reveal zip fastener.
- Unfasten zip and lay backlight on rear shelf.
- Lay protective sheet over backlight, luggage compartment lid and rear seats.
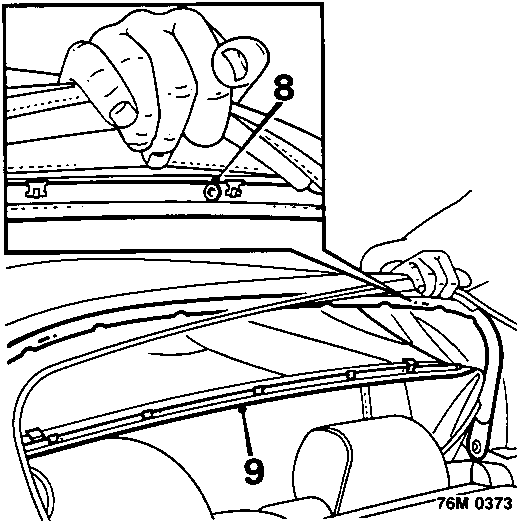
- Drill out 2 pop rivets securing rear headlining retainer to hood frame.
CAUTION: Ensure outer covering is held away from drill chuck.
- Release headlining retainer rail from hood frame.
- Lower hood partially until forward half is positioned vertically.
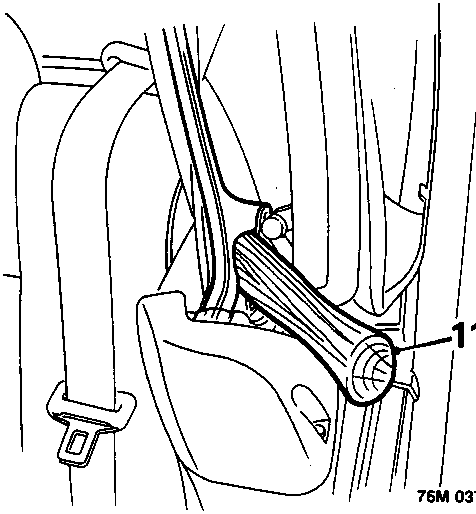
- Power hood: Place chocks in both sides of hood mechanism.
Parts & tools for this job For Rover Coupé, Cabriolet & Tourer
- TOOLTrim removal tool kitSearch: trim removal tool kit
- PARTTouch-up paintSearch: Rover touch up paint
- PARTPanel clip assortmentSearch: Rover panel clips assortment
Links open Amazon search results in a new tab. As an Amazon Associate I earn from qualifying purchases.