
gearbox - V8 (page 4 of 5)
- Make
- Land Rover
- Model
- Discovery II (UK)
- Section
- Repairs
Automatic gearbox - ZF4HP22/24gearbox - V8 · page 4 of 5
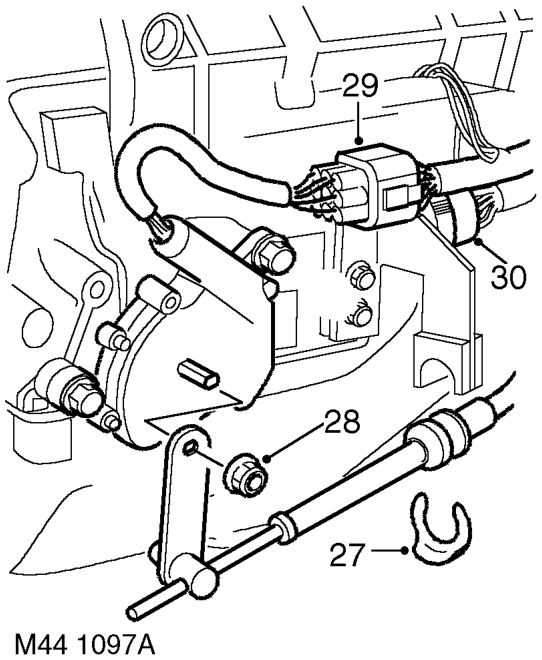
- Remove 'C' clip securing selector cable to gearbox bracket.
- Remove nut securing selector lever to inhibitor switch and release lever.
- Disconnect multiplug from inhibitor switch.
- Loosen gearbox multiplug locking ring and disconnect plug.
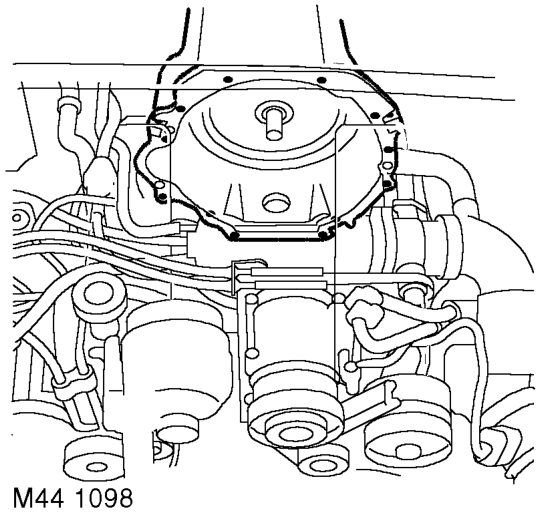
- Lower gearbox sufficiently to access bell housing bolts, take care not to trap any pipes or cables when lowering gearbox.
- Remove 14 bolts securing gearbox to engine.
- With assistance remove gearbox from engine.
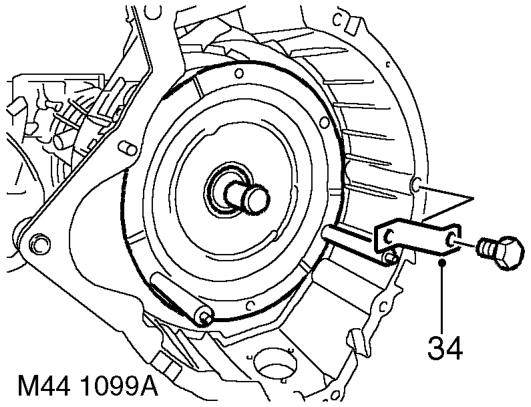
- Fit suitable strap to retain torque converter.
Refit
- Clean gearbox to engine mating faces.
- Remove torque converter retaining strap.
- With assistance position gearbox to engine.
- Fit gearbox bell housing bolts and tighten to 46 Nm (34 lbf.ft)..
- Connect multiplug to gearbox and tighten locking ring.
- Connect inhibitor switch multiplug.
- Position selector lever to inhibitor switch and tighten nut to 25 Nm (18 lbf.ft).
- Position selector cable to gearbox and secure with 'C' clip.
- Clean oil pipe unions and fit new 'O' rings.
- Position and tighten pipe unions to gearbox.
- Position and tighten oil cooler pipe clamps.
- Position and tighten oil cooler pipe clip to engine sump.
- Position engine RH and LH rear mountings and tighten bolts to 85 Nm (63 lbf.ft) and nuts to 85 Nm (63 lbf.ft).
- Secure gearbox breather pipes to bulkhead clip.
- Connect multiplugs to high/low ratio switch and neutral sensor. Connect Lucar connectors to differential lock switch.
- Position cable tie and multiplug to transfer gearbox bracket.
- Connect high/low ratio cable to transfer box and secure with retaining clips.
- Position hand brake back plate and tighten bolts to 75 Nm (55 lbf.ft).
- Fit hand brake drum and tighten screw.
- Remove bolts securing tool LRT-99-008A to gearbox.
- Rotate engine to align torque converter, fit new bolts and tighten to 50 Nm (37 lbf.ft).
- Fit access plug to torque converter housing.
- Fit rear propeller shaft. PROPELLER SHAFTS, REPAIRS, Propeller shaft - rear.
Parts & tools for this job For Land Rover Discovery
- PARTTransmission filter kitSearch: Land Rover Discovery transmission filter kit
- FLUIDAutomatic transmission fluidSearch: Land Rover automatic transmission fluid
- TOOLFluid transfer pumpSearch: fluid transfer pump
Links open Amazon search results in a new tab. As an Amazon Associate I earn from qualifying purchases.