
Front pipe to manifold gasket - ’k’ series
- Make
- Rover
- Model
- 400 Workshop Manual
- Year
- 1995–2000
- Section
- Repairs › Front pipe to manifold gasket - ’k’ series
‹ Prev Exhaust manifold gasket - ’k’ series with air conditioningNext › Front pipe to manifold gasket - ’d’ series
Manifold & exhaust systemsFront pipe to manifold gasket - ’k’ series
Refit
- Clean manifold mating faces.
- Fit new gasket to manifold studs.
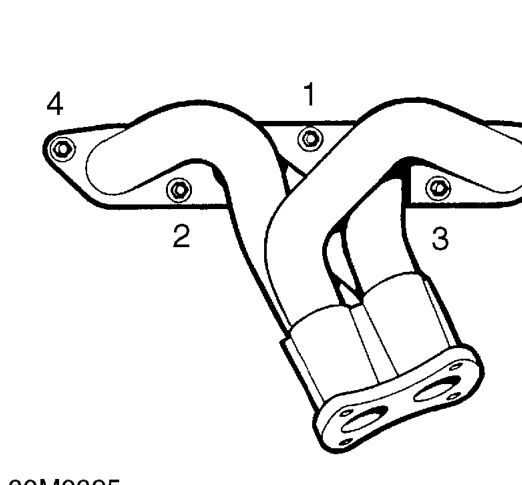
- Fit manifold on studs and tighten nuts in the sequence illustrated to 45 Nm.
- Connect heated oxygen sensor multiplug and secure to bracket.
- Fit alternator top mounting bracket and alternator heat shield.
- Fit nut and bolts. Tighten heatshield bolts to 10 Nm.
- Fit front pipe to manifold gasket. See this section.
- Fit alternator. See ELECTRICAL, Repairs.
FRONT PIPE TO MANIFOLD GASKET - ’K’ SERIES
Service repair no - 30.10.26
Remove
- Raise front of vehicle.
WARNING: Support on safety stands.
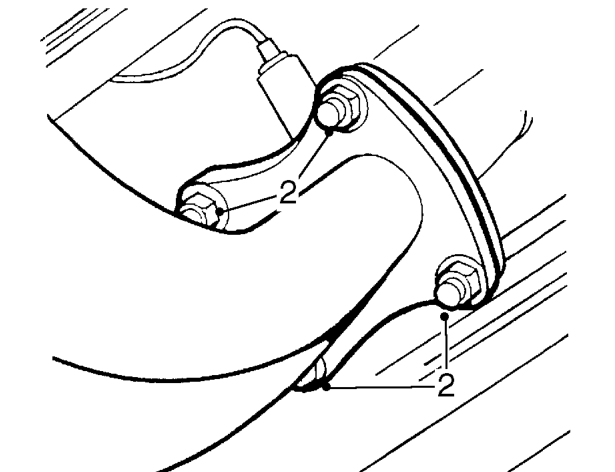
- Remove 4 flange nuts securing front pipe to manifold.
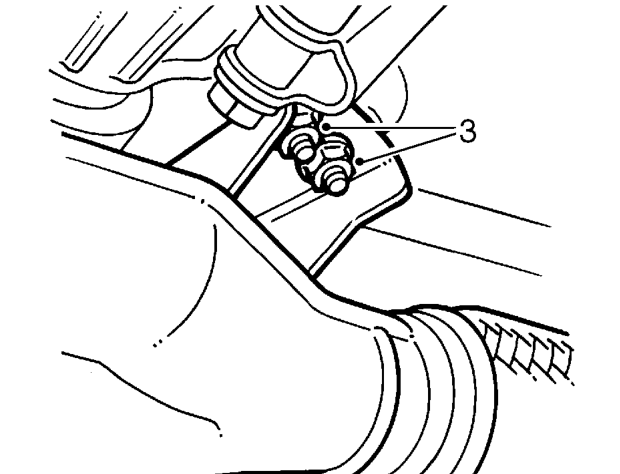
- Remove 2 flange nuts securing support bracket to gearbox.
‹ Prev Exhaust manifold gasket - ’k’ series with air conditioningNext › Front pipe to manifold gasket - ’d’ series
Parts & tools for this job For 1995 Rover 400
- PARTExhaust gasketSearch: Rover 400 1995 exhaust gasket
- TOOLPenetrating oilSearch: penetrating oil
- TOOLOBD2 scannerSearch: OBD2 scanner
Links open Amazon search results in a new tab. As an Amazon Associate I earn from qualifying purchases.