
Front pipe to manifold gasket - ’l’ series
- Make
- Rover
- Model
- 400 Workshop Manual
- Year
- 1995–2000
- Section
- Repairs › Front pipe to manifold gasket - ’l’ series
Manifold & exhaust systemsFront pipe to manifold gasket - ’l’ series
FRONT PIPE TO MANIFOLD GASKET - ’L’ SERIES
Service repair no - 30.10.26
Remove
- Raise front of vehicle.
WARNING: Support on safety stands.
- Remove underbelly panel. See BODY, Exterior fittings.
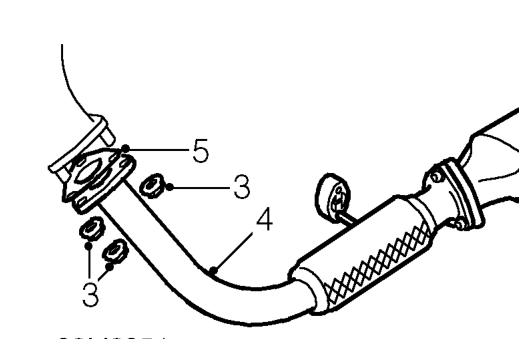
- Remove 3 flange nuts securing front pipe to manifold.
- Release front pipe from manifold.
- Remove gasket from manifold flange.
Refit
- Clean manifold and front pipe flanges.
- Fit new gasket to manifold flange.
- Position front pipe to manifold and fit and tighten bolts to 45 Nm.
- Fit underbelly panel. See BODY, Exterior fittings.
- Lower vehicle.
FUEL TANK HEAT SHIELD - ’L’ SERIES
Service repair no - 30.10.63
- Raise vehicle on 4 post ramp.
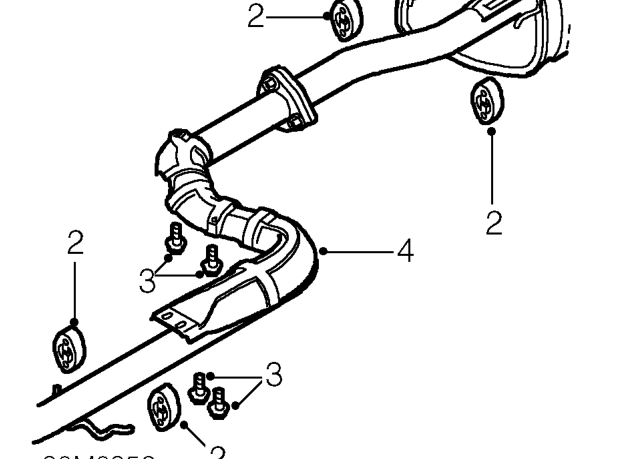
- Release exhaust tail pipe and intermediate pipe from mounting rubbers.
- Remove 4 bolts securing exhaust heat shield to body.
- Remove heat shield.
Refit
- Fit heat shield and tighten bolts to 10 Nm.
- Raise exhaust pipe into position and connect rubber mountings.
- Lower vehicle.
Parts & tools for this job For 1995 Rover 400
- PARTExhaust gasketSearch: Rover 400 1995 exhaust gasket
- TOOLPenetrating oilSearch: penetrating oil
- TOOLOBD2 scannerSearch: OBD2 scanner
Links open Amazon search results in a new tab. As an Amazon Associate I earn from qualifying purchases.