
Front spring (page 2 of 5)
- Make
- Rover
- Model
- 400 Workshop Manual
- Year
- 1995–2000
- Section
- Repairs
SuspensionFront spring · page 2 of 5
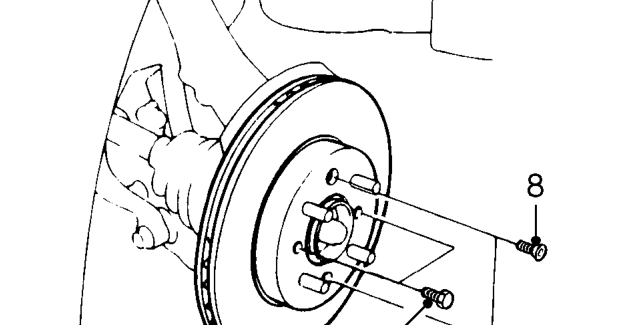
- Mark brake disc to hub relationship.
- Remove 2 screws securing disc and remove disc. Release disc using jacking bolts if necessary.
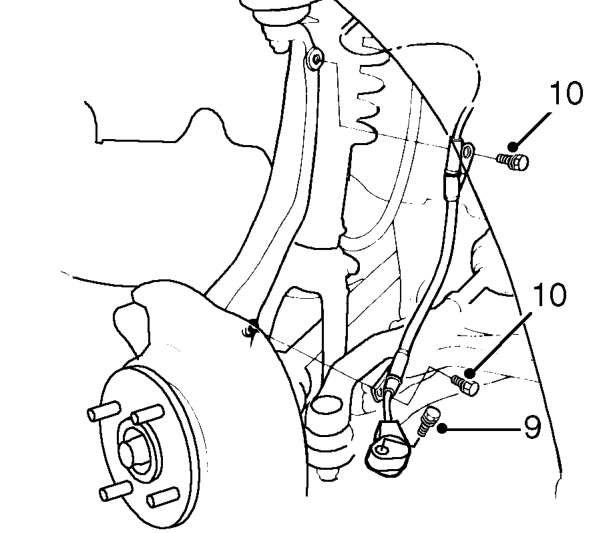
- Remove TX30 Torx screw securing ABS sensor to adaptor.
- Remove 2 bolts securing sensor lead brackets to swivel hub and release lead.
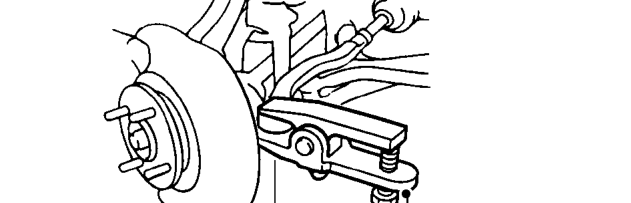
- Remove split pin from steering arm ball joint nut and remove nut. Discard split pin.
- Break taper joint using tool 18G 1584 .
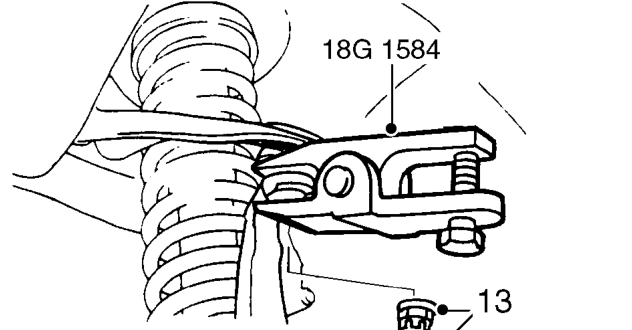
- Remove split pin from swivel hub upper ball joint nut and remove nut. Discard split pin.
- Break taper joint using tool 18G 1584 .
Parts & tools for this job For 1995 Rover 400
- TOOLCoil spring compressorSearch: coil spring compressor
- TOOLBall joint separatorSearch: ball joint separator
- PARTFront shock absorbersSearch: Rover 400 1995 front shock absorbers
Links open Amazon search results in a new tab. As an Amazon Associate I earn from qualifying purchases.