
Dcu
- Make
- Land Rover
- Model
- Discovery II (UK)
- Section
- Repairs › Dcu
DCU
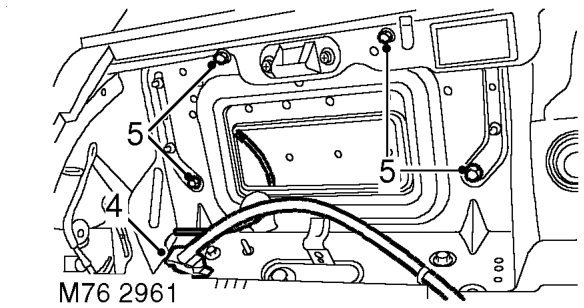
$% 76.74.06
WARNING: It is imperative that before any work is undertaken on the SRS system the appropriate information is read thoroughly.
WARNING: Always disconnect both battery leads before beginning work on the SRS system. Disconnect the negative battery lead first. Never
- Disconnect multiplug from airbag module.
reverse connect the battery.
- Remove 4 Torx bolts securing airbag module to fascia.
Remove
- Remove airbag module from fascia panel.
WARNING: Store the airbag module with the deployment side uppermost. If it is stored deployment side down, accidental deployment will propel the airbag module with enough force to cause serious injury.
WARNING: Store the airbag module or seat belt pre-tensioner in a designated storage area. If there is no designated storage area available, store in the luggage compartment of the vehicle and inform the workshop supervisor.
Refit
NOTE: If the airbag module is to be replaced, the bar code of the new module must be recorded.
- Fit airbag module to fascia and tighten Torx bolts to 8 Nm (6 lbf.ft).
- Connect multiplug to airbag module.
- Position glove box and engage supporting guides. Close glove box.
- Connect battery leads, earth lead last.
- Remove the key from the starter switch. Disconnect both battery leads, negative lead first. Wait ten minutes before starting work.
- Remove centre console. l On manual gearbox models: INTERIOR TRIM COMPONENTS, REPAIRS, Console - centre - manual models. l On automatic gearbox models: INTERIOR TRIM COMPONENTS, REPAIRS, Console - centre - automatic models.
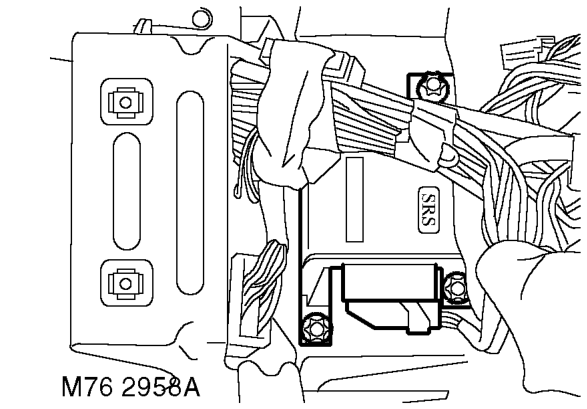
- Disconnect multiplug from DCU.
- Remove 3 Torx bolts securing DCU to body and remove DCU.
CAUTION: The SRS diagnostic control unit is a non-serviceable component and no attempt should be made to repair or modify the unit.
Parts & tools for this job For Land Rover Discovery
- TOOLOBD2 scanner with SRSSearch: OBD2 scanner ABS SRS
- TOOLTrim removal tool kitSearch: trim removal tool kit
Links open Amazon search results in a new tab. As an Amazon Associate I earn from qualifying purchases.