
Rotary coupler
- Make
- Land Rover
- Model
- Discovery II (UK)
- Section
- Repairs › Rotary coupler
Restraint systemsRotary coupler
Refit
CAUTION: The SRS diagnostic control unit is a shock sensitive device and must be handled with extreme care.
- Position DCU to body and connect multiplug.
- Fit and tighten DCU Torx bolts to 10 Nm (7 lbf.ft).
- Fit centre console. l On manual gearbox models: INTERIOR TRIM COMPONENTS, REPAIRS, Console - centre - manual models. l On automatic gearbox models: INTERIOR TRIM COMPONENTS, REPAIRS, Console - centre - automatic models.
- Connect battery leads, earth lead last.
Rotary coupler
$% 76.74.20
WARNING: It is imperative that before any work is undertaken on the SRS system the appropriate information is read thoroughly.
WARNING: Always disconnect both battery leads before beginning work on the SRS system. Disconnect the negative battery lead first. Never reverse connect the battery.
Remove 1. Remove the key from the starter switch. Disconnect both battery leads, negative lead first. Wait ten minutes before starting work.
- Remove steering wheel. STEERING, REPAIRS, Steering wheel.
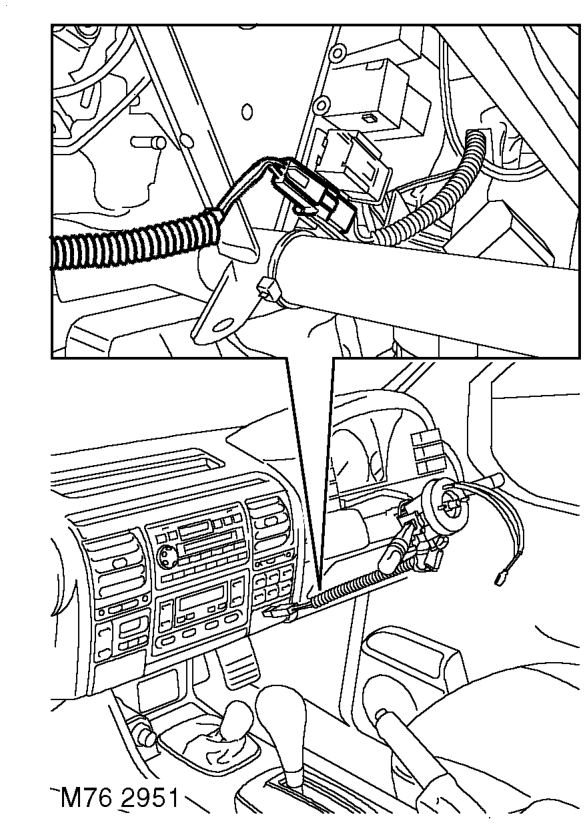
- Remove steering column nacelle. STEERING, REPAIRS, Nacelle - steering column.
Parts & tools for this job For Land Rover Discovery
- TOOLOBD2 scanner with SRSSearch: OBD2 scanner ABS SRS
- TOOLTrim removal tool kitSearch: trim removal tool kit
Links open Amazon search results in a new tab. As an Amazon Associate I earn from qualifying purchases.