
Shaft - intermediate and universal joint -
- Make
- Land Rover
- Model
- Discovery II (UK)
- Section
- Repairs › Shaft - intermediate and universal joint -
SteeringShaft - intermediate and universal joint - · page 1 of 3
Shaft - intermediate and universal joint -
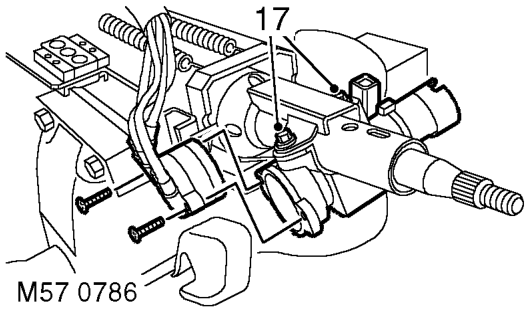
steering column
$% 57.40.22
The intermediate shaft has a red indicator clip fitted which must be inspected at service, and after the vehicle has been subject to an impact. If the clip is not present or is not fully seated against the clamp plate, a new assembly must be fitted.
- Position steering column assembly in a vice.
- Remove 2 screws and remove ignition switch. Remove
- Remove cable tie and remove multiplug from ignition switch.
- Centre punch or drill out steering lock shear bolts.
- Remove steering lock
Refit
- Position lock to steering column assembly and fit shear bolts. Do not tighten shear bolts at this stage.
- Insert starter key, check operation of steering lock and that key turns freely.
- Tighten shear bolts fully and shear heads off.
- Position ignition switch to column, fit and tighten screws.
- Position multiplug to switch and secure with new cable tie.
- Fit rubber boot to column.
- Remove column from vice.
- Position steering to fascia rail fit nuts and tighten to 22 Nm (16 lbf.ft).
- Secure harness to column clip.
- Position rubber grommet.
- Close access panel and secure turn buckles.
- Connect ignition switch multiplugs.
- Position column switch and tighten clamp screw.
- Connect column switch multiplugs.
- Position passive coil, connect multiplug and illumination bulb.
- Fit steering column nacelle. STEERING, REPAIRS, Nacelle - steering column.
- Fit rotary coupler. RESTRAINT SYSTEMS, REPAIRS, Rotary coupler.
- Close fascia lower access panel.
- Fit steering column intermediate shaft. STEERING, REPAIRS, Shaft - intermediate and universal joint - steering column.
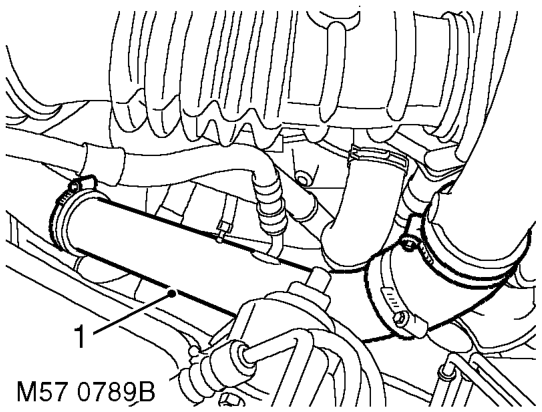
- LHD diesel: Loosen 2 clips securing intercooler to turbocharger hose. Place hose aside.
Parts & tools for this job For Land Rover Discovery
- TOOLTie rod end toolSearch: tie rod end puller
- TOOLBall joint separatorSearch: ball joint separator
- FLUIDPower steering fluidSearch: Land Rover power steering fluid
Links open Amazon search results in a new tab. As an Amazon Associate I earn from qualifying purchases.