
Workshop Manuals Factory service & repair Land Rover
01 Introduction02 General information03 General data04 Identification numbers05 Torque wrench settings06 Lifting and towing07 Capacities, fluids and lubricants08 Maintenance09 Engine - Td510 Engine - V811 Emission control - Td512 Emission control - V813 Engine management system - Td514 Engine management system - V815 Fuel delivery system - Td516 Fuel delivery system - V817 Cooling system - Td518 Cooling system - V819 Manifolds and exhaust systems - Td520 Manifolds and exhaust systems - V821 Clutch - Td522 Clutch - V823 Manual gearbox - R38024 Transfer box - LT230SE25 Automatic gearbox - ZF4HP22/2426 Propeller shafts27 Rear axle28 Front axle29 Steering30 Front suspension31 Rear suspension32 Brakes33 Restraint systems34 Doors35 Exterior fittings36 Interior trim components37 Screens38 Seats39 Sunroof40 Chassis and body dimensions41 Panel repairs42 Body sealing materials43 Corrosion prevention and sealing44 Painting45 Heating and ventilation46 Air conditioning47 Wipers and washers48 Charging and starting49 Lighting50 Body control unit51 Alarm system and horn52 Windows53 In car entertainment54 Harnesses55 Driving aids56 Navigation system57 Instruments
Land Rover Discovery II (UK)10 · Engine - V8
10 · Engine

Engine assembly (page 2 of 2)

Make
Land Rover
Model
Discovery II (UK)
Section
Repairs
Engine - V8Engine assembly · page 2 of 2
Diagram
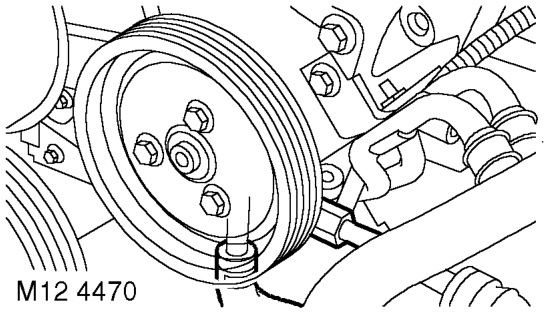
  1. Remove bolt securing oil cooling pipes to PAS pump housing and remove saddle clamp.
  2. Release PAS pump high and low pressure pipes and position aside.

CAUTION: Always fit plugs to open connections to prevent contamination.
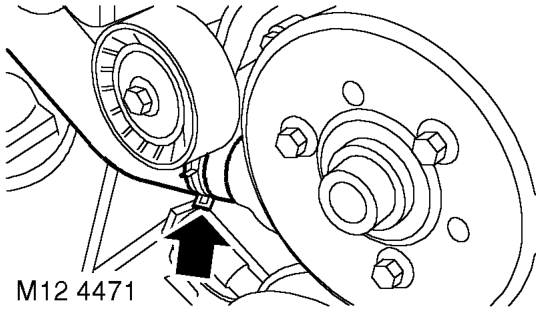
Release PAS pump high and low pressure pipes and position aside.
  1. Release clips securing hose to coolant pump and coolant rail, release hose and position aside.
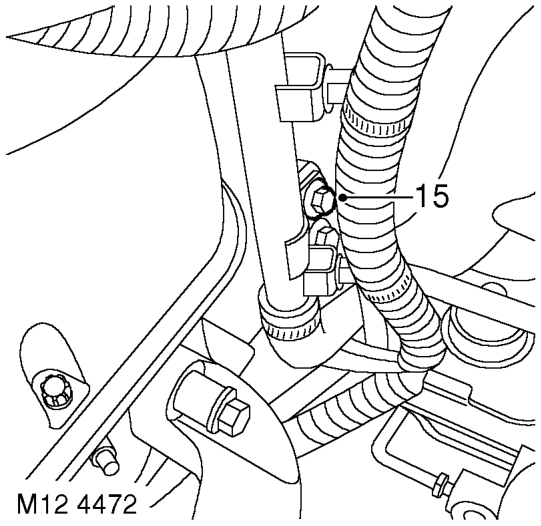
Release clips securing hose to coolant pump and coolant rail, release hose and position as
  1. Release 2 harness clips from coolant rail.
  2. Remove bolt securing coolant rail and position rail aside.
  3. Remove bolt securing engine earth lead and position earth lead aside.
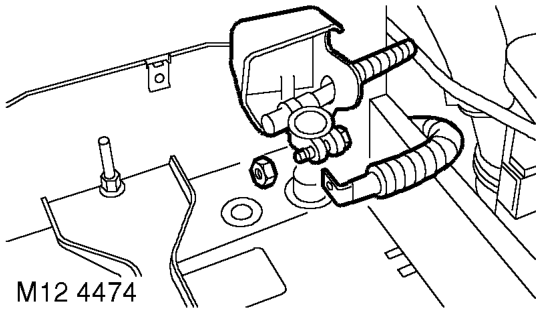
Remove bolt securing engine earth lead and position earth lead aside.
  1. Remove nut securing engine harness positive lead to battery, release lead and position aside.
Remove nut securing engine harness positive lead to battery, release lead and position asi
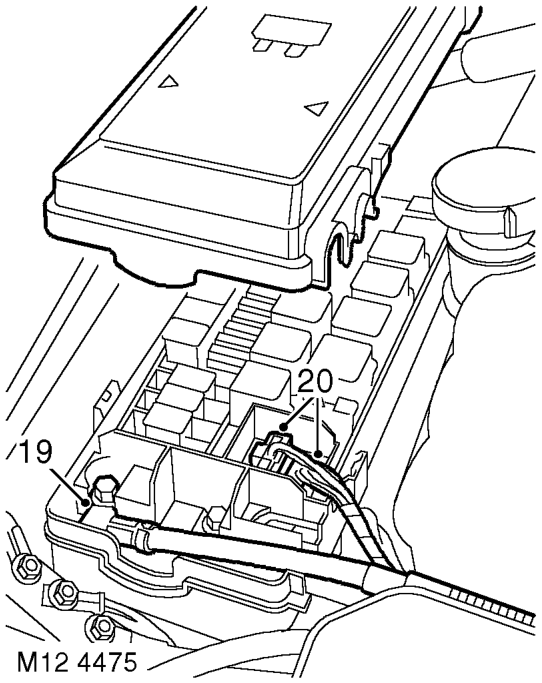
  1. Release clips and remove fuse box cover.
  2. Remove bolt securing starter lead to fuse box, release lead and position aside.
  3. Disconnect 2 engine harness multiplugs from fuse box.

Parts & tools for this job For Land Rover Discovery

Links open Amazon search results in a new tab. As an Amazon Associate I earn from qualifying purchases.