
Both sides
- Make
- Mini
- Model
- Mini Workshop Manual
- Year
- 1996–2000
- Section
- Repairs › Both sides
ElectricalBoth sides
Both sides
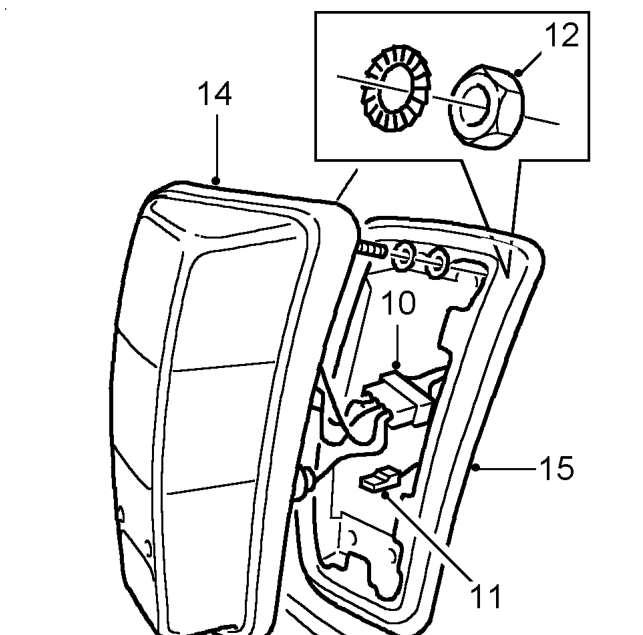
- Disconnect multiplug from tail lamp.
- Disconnect Lucar from tail lamp.
- Remove 4 nuts securing tail lamp to body.
- Disconnect earth lead(s) from stud.
- Remove tail lamp assembly.
- Remove tail lamp seal.
Refit
- Fit seal to tail lamp.
- Clean mating faces of tail lamp and body.
- Fit tail lamp assembly to body, fit earth lead(s) to stud.
- Fit nuts securing tail lamp to body and tighten to 9 Nm.
- Connect multiplug to tail lamp.
LH side only
- Manoeuvre fuel tank into position and position restraining strap.
- Fit and tighten strap retaining bolt.
- Connect Lucars to sender unit.
- Fit fuel tank side cover and secure with studs.
- Position spare wheel
- Fit boot carpet.
- Refill fuel tank with fuel.
- Connect battery earth lead.
Parts & tools for this job For 1996 Mini Mini
- TOOLDigital multimeterSearch: automotive digital multimeter
- PARTAssorted fuse kitSearch: car fuse assortment kit
- TOOLWire crimper and connector kitSearch: wire crimper connector kit
Links open Amazon search results in a new tab. As an Amazon Associate I earn from qualifying purchases.