
Centre air vent removal
- Make
- Rover
- Model
- 600 Rover 600 Repair Manual - Volumes 1 and 2 - 2nd Edition
- Section
- Interior fittings › Centre air vent removal
BodyCentre air vent removal
Centre air vent removal
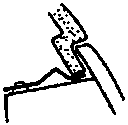
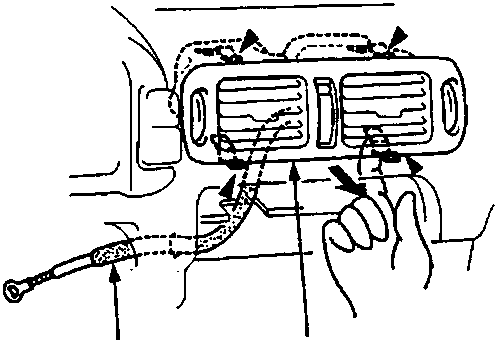
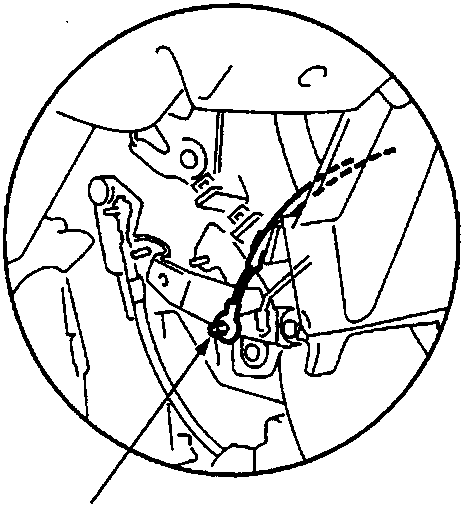
A Centre air vent
B Cool vent cable
- Clip locations and quantities are shown by black triangles.
- Remove the heater control panel.
- Disconnect the cool vent cable.
Installation is the reverse of the removal procedure.
Note: Adjust the heater control cables and cool vent cable (see HEATING AND VENTILATION).
Side air vents removal
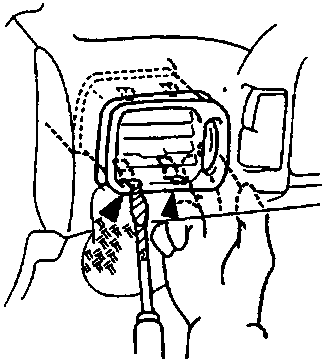
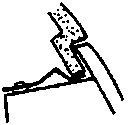
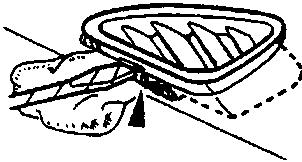
76M 0945
Glove box removal
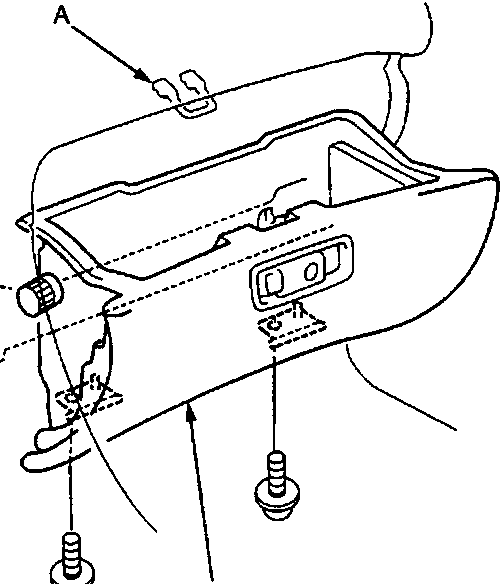
A Striker
B Glove box
- Clip locations and quantities are shown by black triangles.
Remove the screws.
Parts & tools for this job For Rover 600
- TOOLTrim removal tool kitSearch: trim removal tool kit
- PARTTouch-up paintSearch: Rover touch up paint
- PARTPanel clip assortmentSearch: Rover panel clips assortment
Links open Amazon search results in a new tab. As an Amazon Associate I earn from qualifying purchases.