
Component Removal/Installation
- Make
- Rover
- Model
- 600 Rover 600 Repair Manual - Volumes 1 and 2 - 2nd Edition
- Section
- Interior fittings › Component Removal/Installation
BodyComponent Removal/Installation · page 1 of 3
Component Removal/Installation
Instrument panel removal
CAUTION:
- All SRS electrical wiring harnesses are covered with yellow outer insulation.
- Replace the entire affected SRS harness assembly if it has an open circuit or damaged wiring.
- Before disconnecting the SRS wiring harnesses, turn the ignition switch off, disconnect the negative and positive battery cables, and wait at least three minutes.
Note:
- Do not drop the screws inside the dashboard.
- When prising with a flat-bladed screwdriver, wrap it with protective tape to prevent damage.
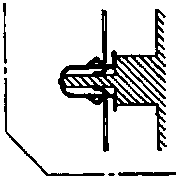
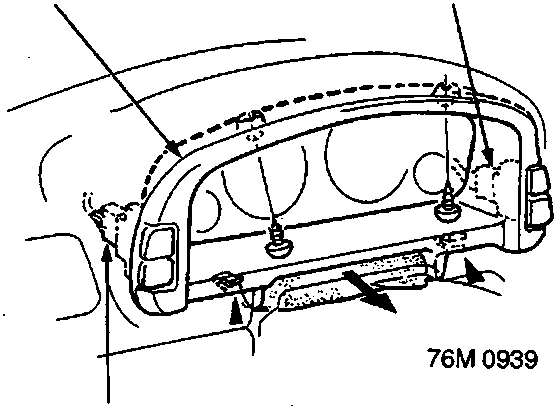
A Instrument panel
- Disconnect the connector at position ‘B’
- Clip locations and quantities are shown by black triangles.
- Lower the steering column.
- Remove the screws and clips.
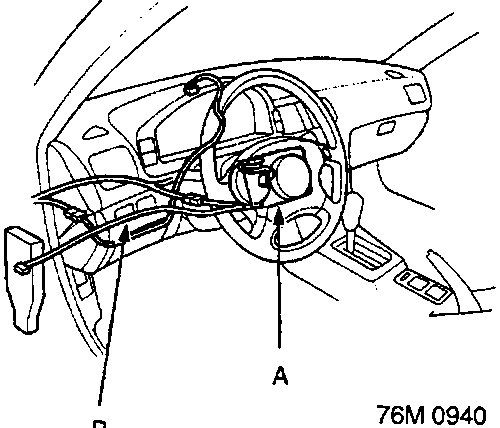
A Airbag assembly
B SRS main harness
SRS wire harnesses are routed near the dashboard and steering column.
Dashboard lower cover removal
▶: 5
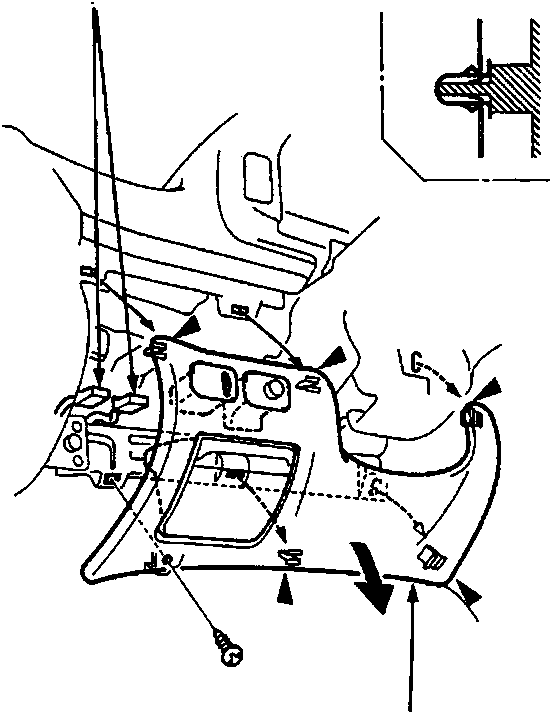
A Dashboard lower cover
- Disconnect the connector at position ‘B’
- Clip locations and quantities are shown by black triangles.
Remove the screw and clips.
Parts & tools for this job For Rover 600
- TOOLTrim removal tool kitSearch: trim removal tool kit
- PARTTouch-up paintSearch: Rover touch up paint
- PARTPanel clip assortmentSearch: Rover panel clips assortment
Links open Amazon search results in a new tab. As an Amazon Associate I earn from qualifying purchases.