Workshop Manuals Factory service & repair Rover
01 Information02 General data03 Engine04 Engine management system – PGM-Fi05 Cooling system, manifold and exhaust06 Clutch07 Manual gearbox08 Automatic gearbox09 Drive shafts10 Differential – manual gearbox11 Differential – automatic gearbox12 Steering13 Suspension14 Brakes and ABS15 Brakes – ABS BY416 Body17 Heating and ventilation18 Electrical19 Supplementary restraint system (SRS)
Rover Rover 600 Repair Manual - Volumes 1 and 2 - 2nd Edition16 · Body
16 · Body & interior

Headliner (page 2 of 2)

Make
Rover
Model
600 Rover 600 Repair Manual - Volumes 1 and 2 - 2nd Edition
Section
Interior fittings
BodyHeadliner · page 2 of 2
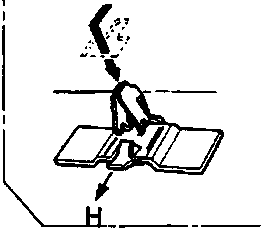
Diagram showing clip A being removed with tool, labeled 2 and H indicating forward position
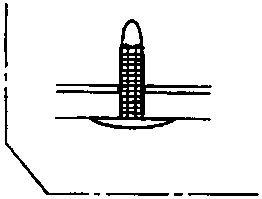
Diagram showing clip B inserted through trim panel
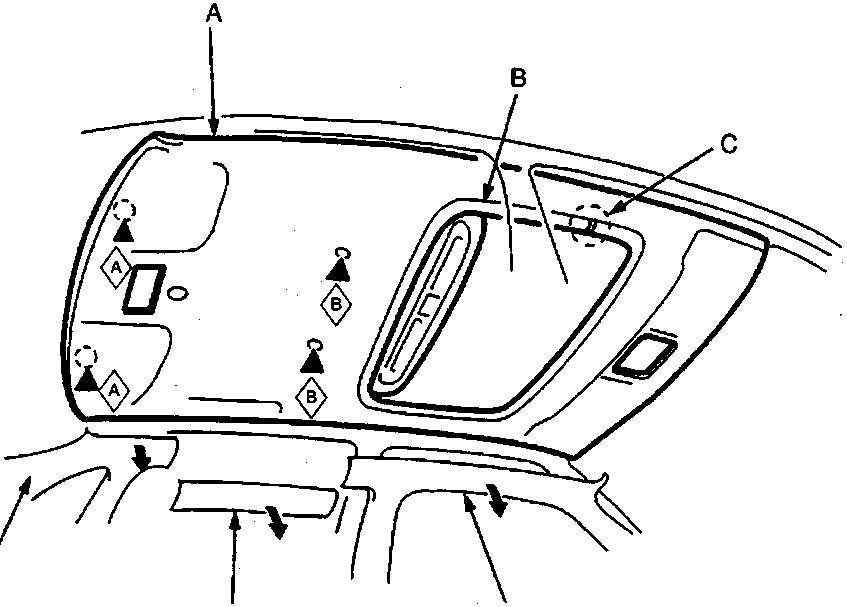
Diagram of headliner assembly showing locations of clips A and B, joint C, rear pillar trim panel D, rear roof side trim E, front pillar trim F, and headliner G
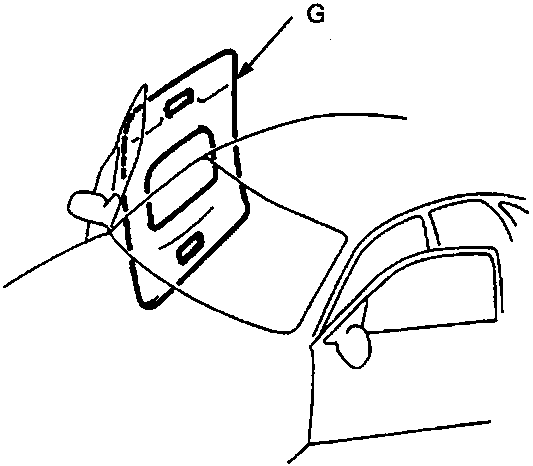
Diagram showing headliner G being detached from passenger's door opening
A Headliner B Roof trim C Joint D Rear pillar trim panel E Rear roof side trim F Front pillar trim G Headliner H Indicates 'Forward' position

Clip locations and quantities are shown by black triangles.

5. Remove:
  • Front seat
  • Rear seat
  • Front pillar trim, rear roof side trim and rear pillar trim panel
6. Remove the clips 'B' and roof trim (sunroof model). 7. Detach the clips 'A' by sliding the headliner forward. 8. Remove the headliner from the passenger's door opening.

Parts & tools for this job For Rover 600

Links open Amazon search results in a new tab. As an Amazon Associate I earn from qualifying purchases.