
Accelerometer - ACE - lower Pump - ACE - V8 (page 2 of 2)
- Make
- Land Rover
- Model
- Discovery II (UK)
- Section
- Repairs
Front suspensionAccelerometer - ACE - lower Pump - ACE - V8 · page 2 of 2
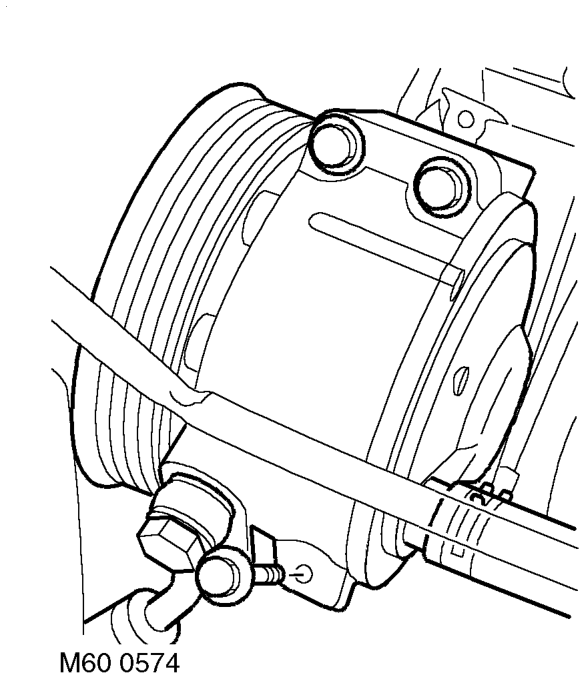
- Position container to catch spillage.
- Release clip on pump suction hose and disconnect hose.
CAUTION: Always fit plugs to open connections to prevent contamination.
- Remove banjo bolt and disconnect pressure pipe from ACE pump. Discard sealing washers.
CAUTION: Always fit plugs to open connections to prevent contamination.
- Remove 3 bolts securing ACE pump to mounting and remove ACE pump.
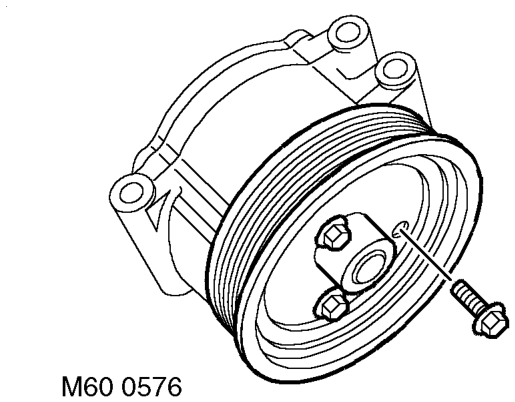
- Restrain pulley, remove 3 securing bolts and remove pulley from ACE pump.
Refit
- Clean mating faces of pulley and ACE pump.
- Position pulley to ACE pump and fit bolts. Restrain pulley and tighten bolts to 25 Nm (18 lbf.ft).
- Clean mating faces of ACE pump and mounting.
- Connect suction hose to ACE pump and secure with clip.
- Ensure there is sufficient fluid in ACE/PAS reservoir to prime ACE pump.
- Position ACE pump below level of ACE/PAS reservoir, with suction hose uppermost, and allow fluid from ACE/PAS reservoir to completely fill ACE pump.
- Position ACE pump to mounting, fit bolts and tighten to 25 Nm (18 lbf.ft).
- Rotate ACE pump clockwise (viewed from pulley end) until a steady flow of fluid runs from outlet port.
- Connect pressure pipe to ACE pump with banjo bolt and new sealing washers. Tighten banjo bolt to 28 Nm (21 lbf.ft).
- Position air intake hose and secure clips.
- Fit auxiliary drive belt. CHARGING AND STARTING, REPAIRS, Belt - auxiliary drive.
- Renew ACE high pressure filter. FRONT SUSPENSION, REPAIRS, Filter - high pressure - ACE.
Parts & tools for this job For Land Rover Discovery
- TOOLCoil spring compressorSearch: coil spring compressor
- TOOLBall joint separatorSearch: ball joint separator
- PARTFront shock absorbersSearch: Land Rover Discovery front shock absorbers
Links open Amazon search results in a new tab. As an Amazon Associate I earn from qualifying purchases.