
Front Door:
- Make
- Rover
- Model
- 600 Rover 600 Repair Manual - Volumes 1 and 2 - 2nd Edition
- Section
- Doors › Front Door:
BodyFront Door:
Front Door:
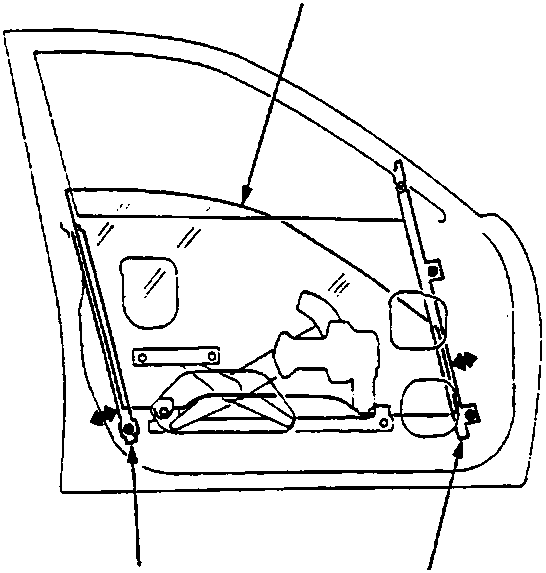
76M 0811
- A Glass
- B Front channel
- C Centre channel
Rear Door:
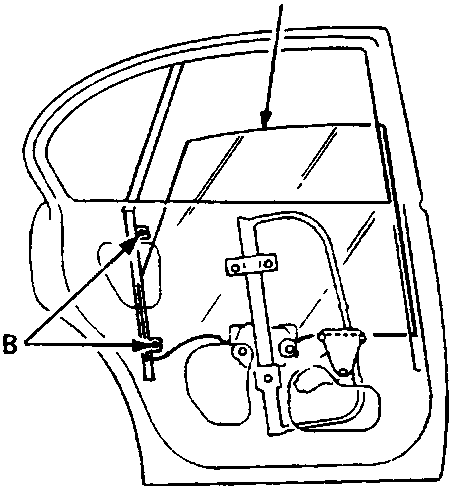
76M0812A
- A Glass
- B Rear channel
- Raise the glass as far up as possible and hold it against the glass run channel. Then tighten the roller guide bolts (front door) and glass mounting bolts (rear door).
- Check that the glass moves smoothly.
- If necessary, adjust the front and centre channels (front door) and rear channel (rear door).
- Raise the glass fully and check for gap.
- Check the window operation.
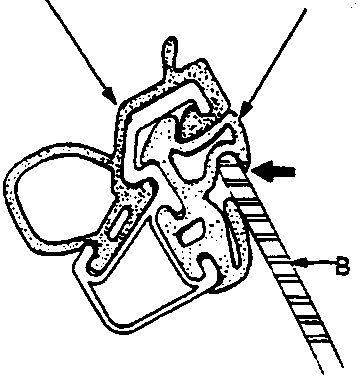
76M 0813
- A Glass run channel
- B Glass
- C Weatherstrip
Note: Check that the glass contacts the glass run channel evenly.
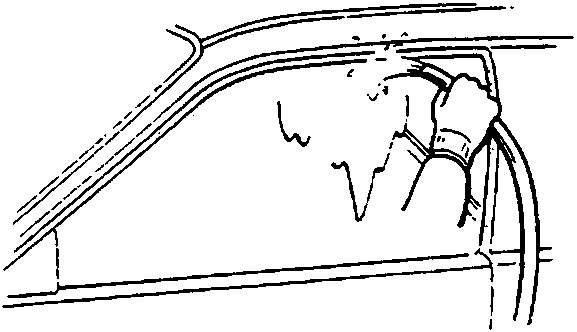
76M 0814
- Check for water leaks.
Note: Do not use high pressure water.
- Route the door harness and connectors and fasten them to the door.
- Attach the plastic cover, then install the door panel.
Parts & tools for this job For Rover 600
- TOOLTrim removal tool kitSearch: trim removal tool kit
- PARTTouch-up paintSearch: Rover touch up paint
- PARTPanel clip assortmentSearch: Rover panel clips assortment
Links open Amazon search results in a new tab. As an Amazon Associate I earn from qualifying purchases.