
Original page
- Make
- Rover
- Model
- 600 Rover 600 Repair Manual - Volumes 1 and 2 - 2nd Edition
- Section
- Doors › Original page
BodyOriginal page
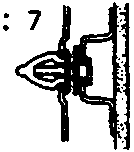
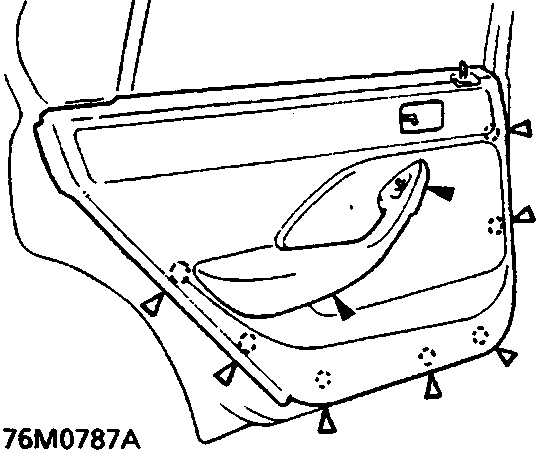
Note:
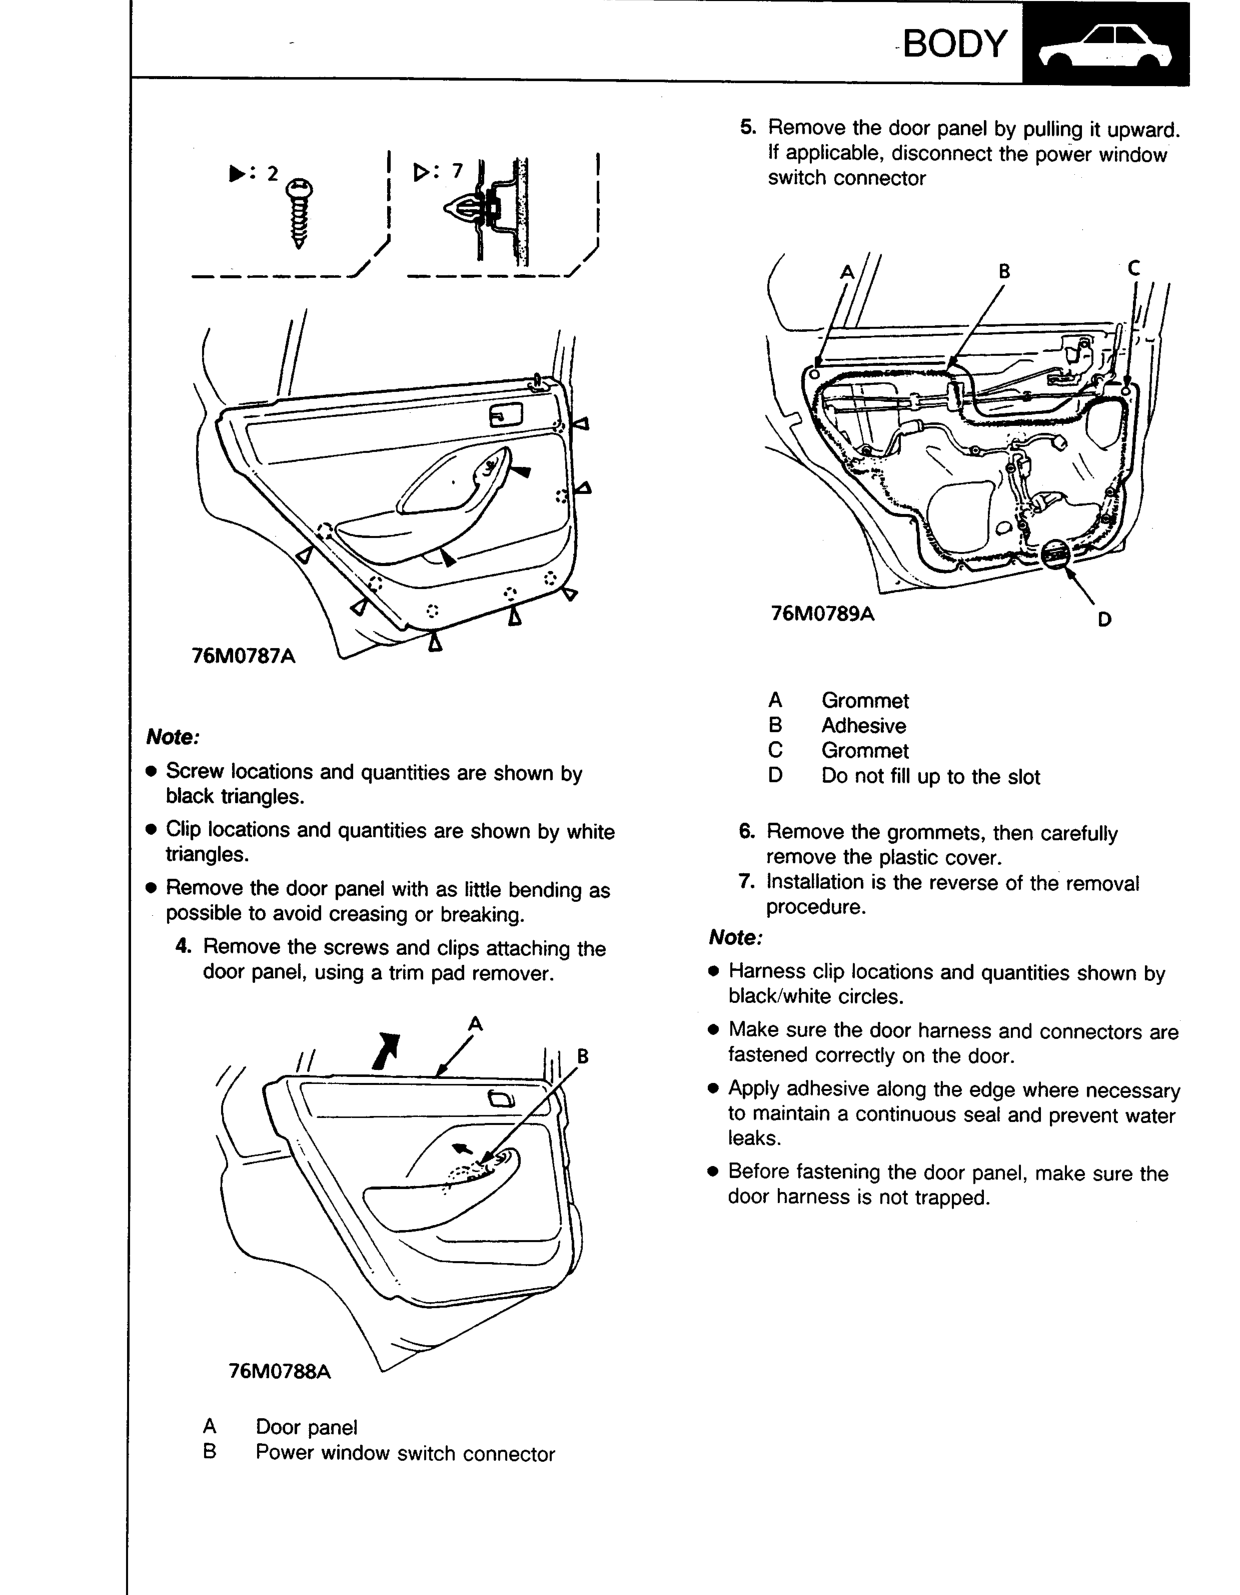
- Screw locations and quantities are shown by black triangles.
- Clip locations and quantities are shown by white triangles.
- Remove the door panel with as little bending as possible to avoid creasing or breaking.
- Remove the screws and clips attaching the door panel, using a trim pad remover.
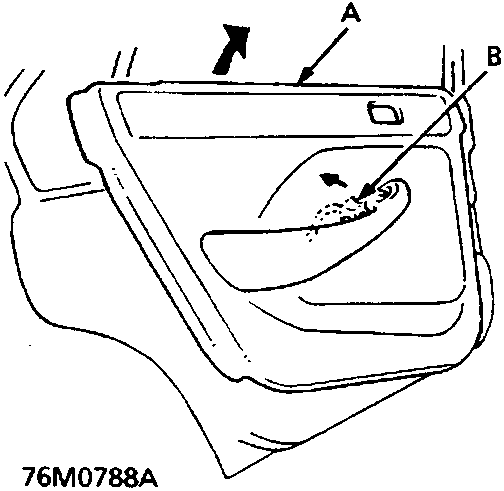
- A Door panel
- B Power window switch connector
- Remove the door panel by pulling it upward. If applicable, disconnect the power window switch connector
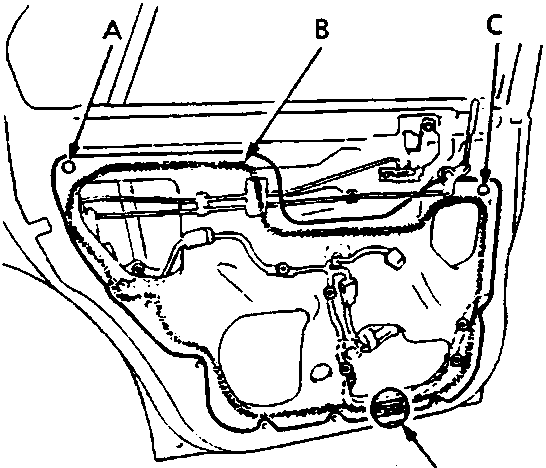
- A Grommet
- B Adhesive
- C Grommet
- D Do not fill up to the slot
- Remove the grommets, then carefully remove the plastic cover.
- Installation is the reverse of the removal procedure.
Note:
- Harness clip locations and quantities shown by black/white circles.
- Make sure the door harness and connectors are fastened correctly on the door.
- Apply adhesive along the edge where necessary to maintain a continuous seal and prevent water leaks.
- Before fastening the door panel, make sure the door harness is not trapped.
Original page
Parts & tools for this job For Rover 600
- TOOLTrim removal tool kitSearch: trim removal tool kit
- PARTTouch-up paintSearch: Rover touch up paint
- PARTPanel clip assortmentSearch: Rover panel clips assortment
Links open Amazon search results in a new tab. As an Amazon Associate I earn from qualifying purchases.