
Original page
- Make
- Rover
- Model
- 600 Rover 600 Repair Manual - Volumes 1 and 2 - 2nd Edition
- Section
- Exterior fittings › Original page
BodyOriginal page
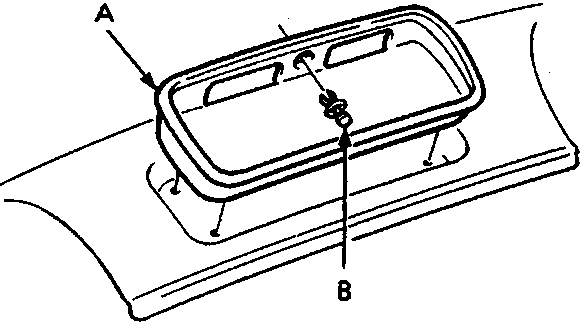
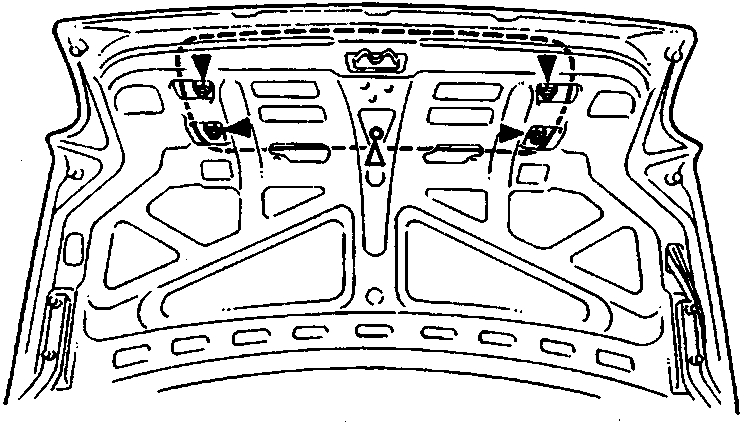
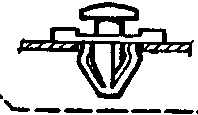
76M1207
| A | Licence plate trim |
| B | Clip |
CAUTION: Wear gloves to remove and install the license plate trim.
- Remove the clip from the top centre of the trim.
- Remove the nuts securing the trim to the body.
- Lift and remove the license plate trim.
- Installation is the reverse of the removal procedure.
Note:
- Take care not to scratch the body or trim.
- Nut locations and quantities are shown by black triangles.
- Clip locations and quantities are shown by white triangles
- Take care not to drop the nut inside the boot lid.
- If necessary, replace any damaged fixings.
Original page
Parts & tools for this job For Rover 600
- TOOLTrim removal tool kitSearch: trim removal tool kit
- PARTTouch-up paintSearch: Rover touch up paint
- PARTPanel clip assortmentSearch: Rover panel clips assortment
Links open Amazon search results in a new tab. As an Amazon Associate I earn from qualifying purchases.