
Preparation
- Make
- Rover
- Model
- 600 Rover 600 Repair Manual - Volumes 1 and 2 - 2nd Edition
- Section
- Exterior fittings › Preparation
BodyPreparation
Preparation
- Trim off sealer with a sharp knife and level off sealer around the entire rear screen aperture flange.
- Note: Do not scrape down to the painted surface of the body, damaged paint will lead to improper bonding.
- Remove loose sealer, clean bonding surface with spirit wipe.
- Prime any bare metal areas with etch primer, masking off any surrounding surfaces before painting.
- If the old rear screen is to be reinstalled, trim the sealer from the glass with a suitable tool i.e, a putty knife.
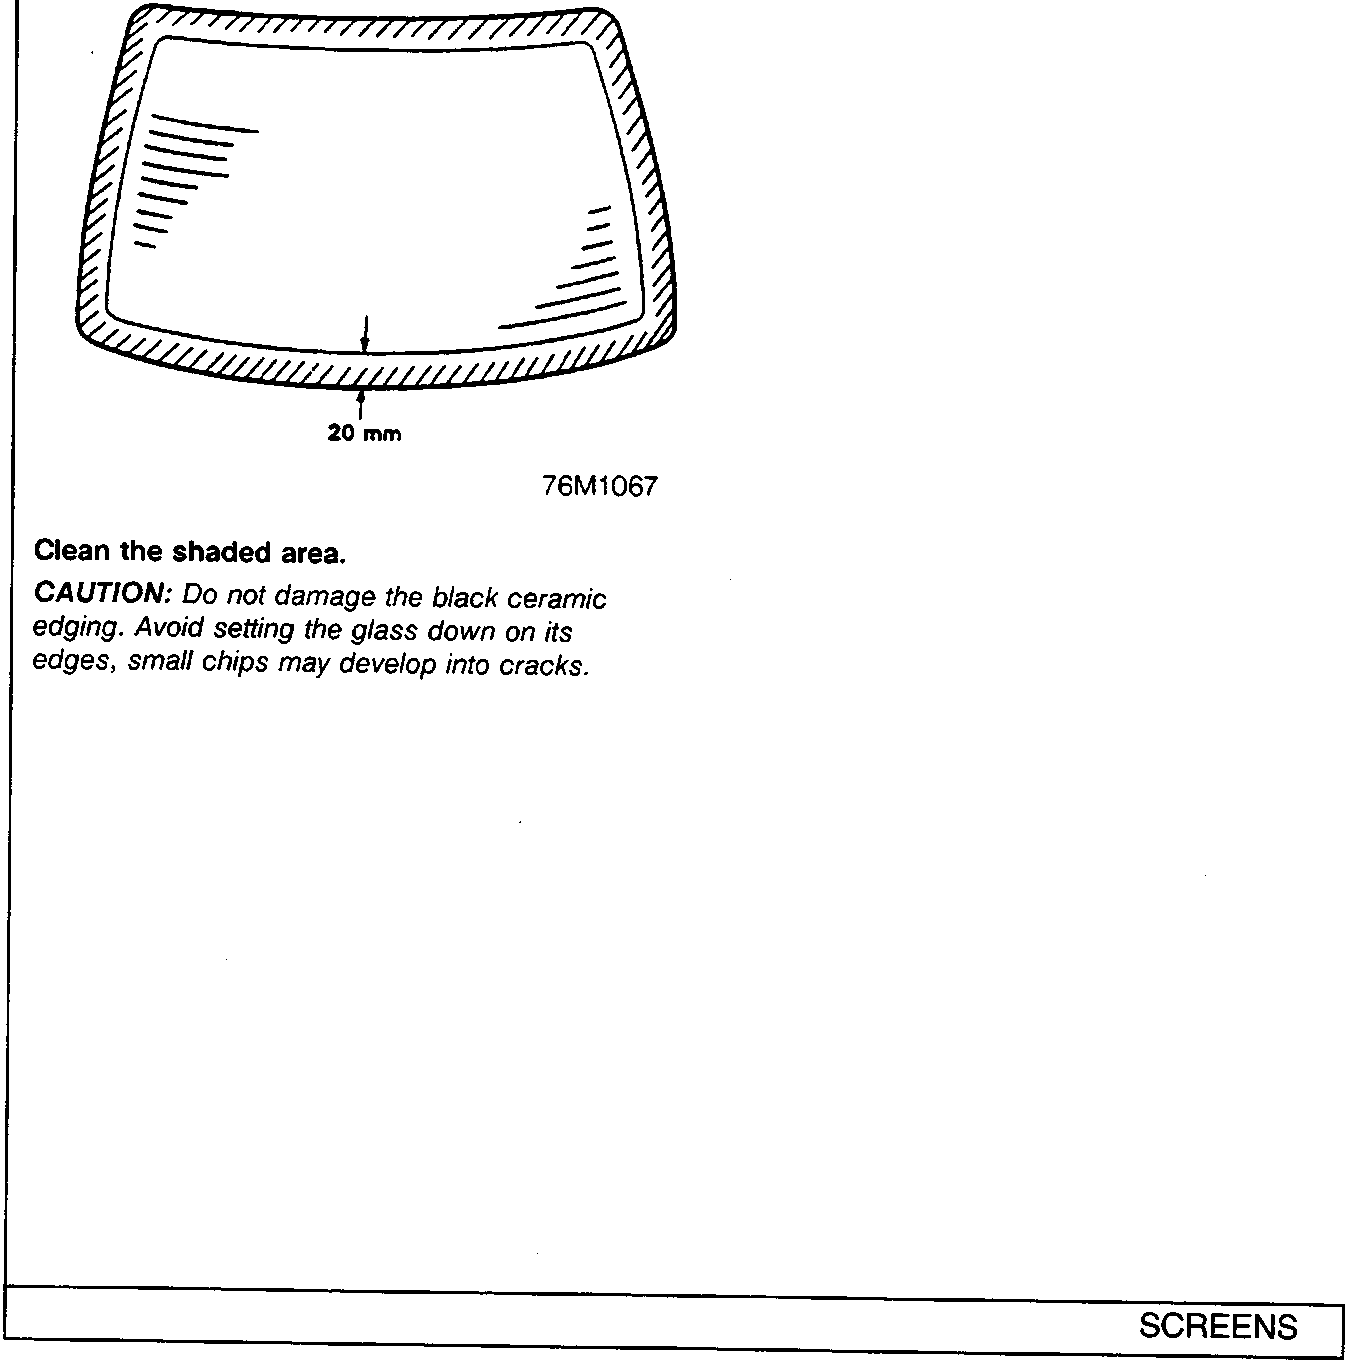
Clean the shaded area.
CAUTION: Do not damage the black ceramic edging. Avoid setting the glass down on its edges, small chips may develop into cracks.
Parts & tools for this job For Rover 600
- TOOLTrim removal tool kitSearch: trim removal tool kit
- PARTTouch-up paintSearch: Rover touch up paint
- PARTPanel clip assortmentSearch: Rover panel clips assortment
Links open Amazon search results in a new tab. As an Amazon Associate I earn from qualifying purchases.