
Saloon models
- Make
- Rover
- Model
- 400 Body Repair Manual
- Year
- 1995–2000
- Section
- Repairs › Saloon models
Panel repairsSaloon models
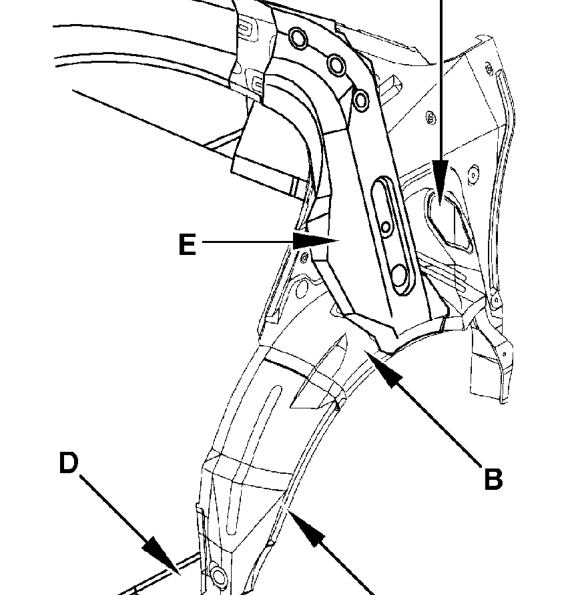
Saloon models
A. Apply the mastic sealer B. Inner Panel C. Wheel Arch Extension D. Side Sill Extension E. Reinforcement
- Cut the replacement part.
NOTE: Cut so that the repair part overlaps the side sill by 30 mm (1.2 in).
- Apply body paint to the back of the repair part.
WARNING: Ventilate when spraying paint. Most paint contains substances that are harmful if inhaled or swallowed. • Read the paint label before opening paint container. • Avoid contact with the skin. Wear an approved respirator, gloves, eye protection and appropriate clothing when painting. • Paint is flammable. Store it in a safe place, and keep it away from sparks, flames or cigarettes.
- Remove the undercoat from both sides of the weld flange with a sander to expose the steel plate.
- Cut the repair part at the rear pillar with a handsaw.
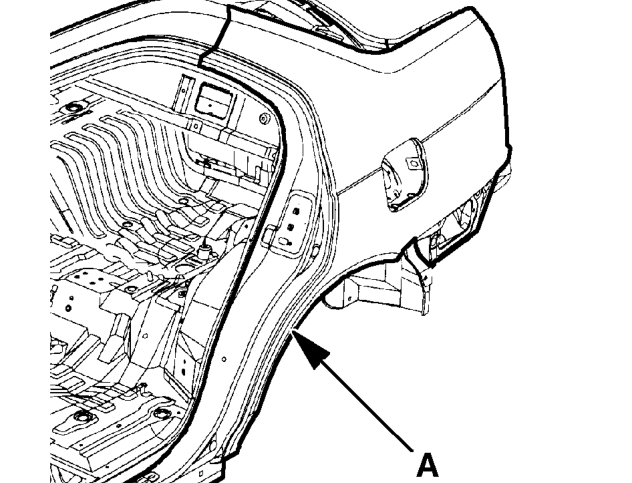
Saloon illustrated
A. Repair Part
Parts & tools for this job For 1995 Rover 400
- TOOLTorque wrenchSearch: 3/8 inch torque wrench
- TOOLSocket setSearch: socket set metric
- BOOKHaynes manualSearch: Haynes manual Rover 400
Links open Amazon search results in a new tab. As an Amazon Associate I earn from qualifying purchases.