
2.0 petrol and diesel models
- Make
- Rover
- Model
- 400 Body Repair Manual
- Year
- 1995–2000
- Section
- Repairs › 2.0 petrol and diesel models
Panel repairs2.0 petrol and diesel models · page 1 of 4
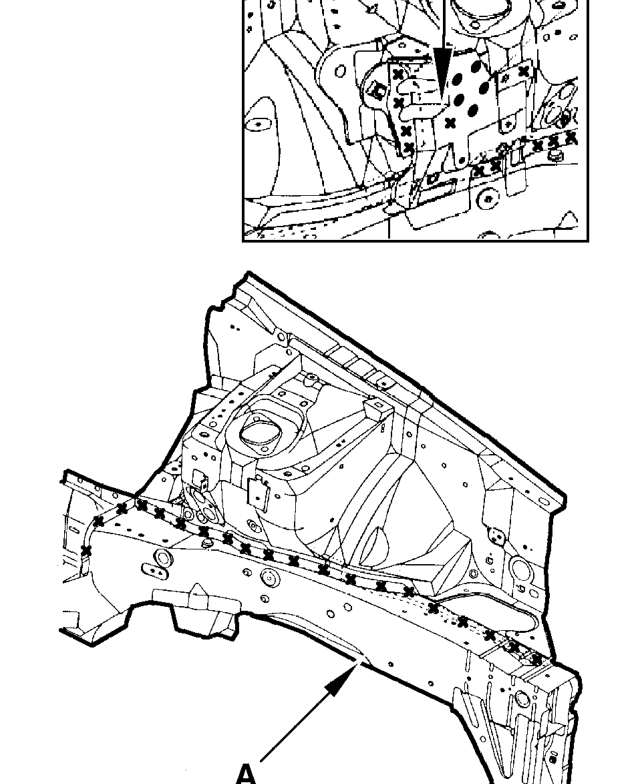
2.0 petrol and diesel models
A. Front side frame B. Engine mount
- Remove the burrs from the drilled sections with a disc sander.
WARNING: To prevent eye injury, wear goggles or safety glasses whenever sanding, cutting or grinding.
- Leave the inside sill extension and rear support stiffener attached to the dashboard lower side.
NOTE: When drilling holes be careful not to drill down to the inside sill extension, rear support stiffener and inside sill.
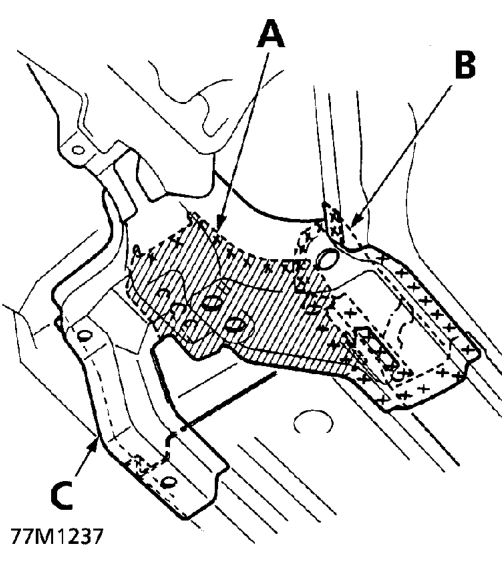
A. Rear Support Stiffener B. Inside Sill Extension C. Front Side Outrigger
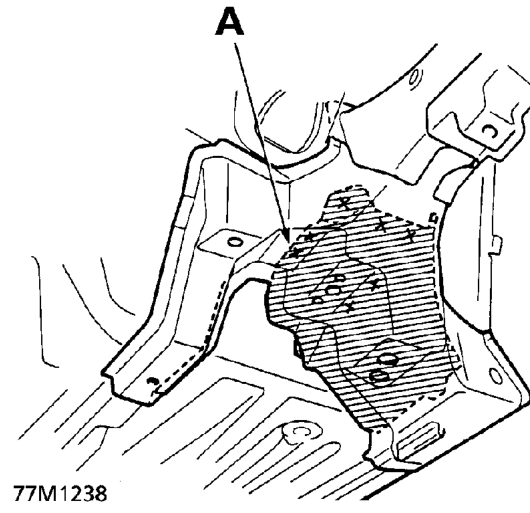
A. Rear Support Stiffener
- Centre punch around the spot weld imprints on the front side frame and front side outrigger from inside the passenger compartment.
- Drill holes in the spot welded area with a 5 mm (0.2 in) drill.
NOTE: Drill holes completely through the parts since the replacement front side frame and front side outrigger will be welded by MIG welding.
Parts & tools for this job For 1995 Rover 400
- PARTGlow plugsSearch: Rover 400 1995 glow plugs
- TOOLGlow plug socketSearch: glow plug socket
- TOOLDiesel compression testerSearch: diesel compression tester
Links open Amazon search results in a new tab. As an Amazon Associate I earn from qualifying purchases.