
Remove
- Make
- Rover
- Model
- Coupé, Cabriolet & Tourer 200/400 Coupé, Cabriolet & Tourer Workshop Manual
- Section
- Interior trim components › Remove
BodyRemove
Service Repair No.
Without Sun roof: 76.64.01
With Sun roof: 76.64.15
Remove
- Disconnect battery earth lead.
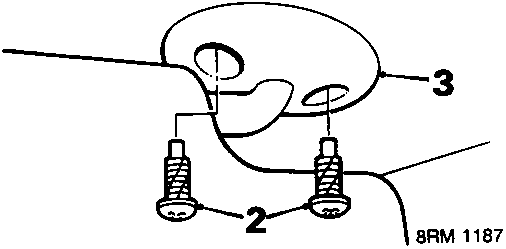
- Release clip and remove 2 screws securing each sun visor.
- Remove 2 sun visors.
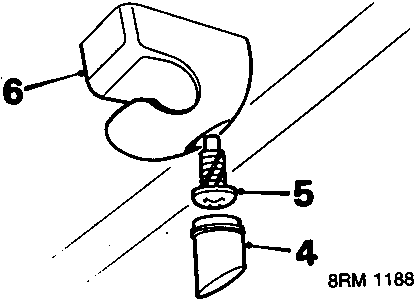
- Remove blanking plug from each sun visor clip.
- Remove screw securing each clip.
- Remove 2 sun visor clips.
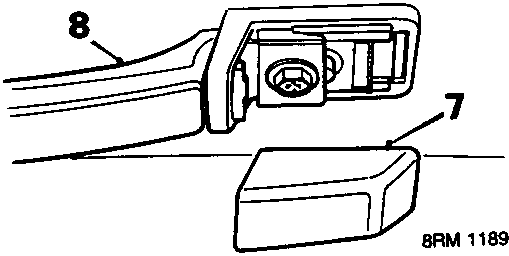
- Remove 2 covers and 2 screws securing each grab handle.
- Remove 3 grab handles.
- Remove interior lamp, see ELECTRICAL – Repairs.
- Remove head rest from each front seat.
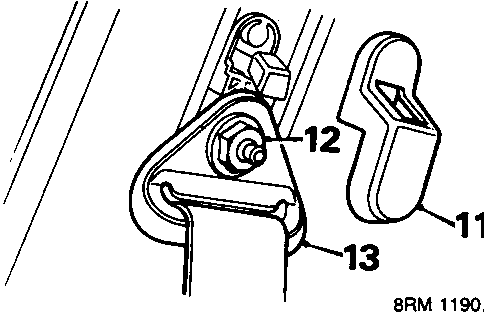
- Remove cover from each seat belt 'B' post anchorage.
- Remove nut securing each seat belt.
- Release seat belt from B/C post.
- Open taildoor and release window tray cords.
- Remove rear window tray.
3 Door
- Remove rear seat squab, see Rear seat squab – 200 Series.
- Remove 4 screws securing lower trim casing to luggage compartment carpet.
- Release lower trim casing.
- Remove screw and release rear upper trim casing.
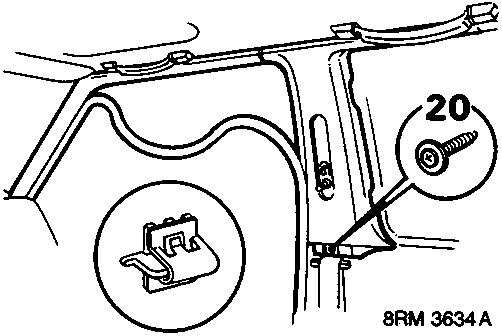
- Remove screw from scrivet securing 'B' post finisher to 'B' post and remove finisher.
Parts & tools for this job For Rover Coupé, Cabriolet & Tourer
- TOOLTrim removal tool kitSearch: trim removal tool kit
- PARTTouch-up paintSearch: Rover touch up paint
- PARTPanel clip assortmentSearch: Rover panel clips assortment
Links open Amazon search results in a new tab. As an Amazon Associate I earn from qualifying purchases.