
Fascia assembly
- Make
- Rover
- Model
- 800 Workshop Manual
- Year
- 1996–1999
- Section
- Repairs › Fascia assembly
BodyFascia assembly
Refit
- Position console assembly and locate front of console under front ash tray.
- Connect multiplug to receiver module, align rear of console and fit screws.
- Fit console securing bolts.
- Align front of console and fit screws.
- Secure ash tray holder to console and fit ash tray.
- Fit veneer finisher.
- Manual gearbox: Secure gear lever gaiter.
- Secure harness to clips.
- Position hand brake housing over hand brake and connect multiplugs.
- Locate housing to console and fit screws.
- Fit screw covers.
FASCIA ASSEMBLY
Service repair no - 76.46.23/99
Remove
WARNING: SRS procedures must be followed and ALL precautions observed. See RESTRAINT SYSTEMS, Precautions.
- Remove passenger’s airbag module. See RESTRAINT SYSTEMS, Repairs.
- Remove steering column assembly. See STEERING, Repairs.
- Remove radio. See ELECTRICAL, Repairs.
- Remove centre console. See this section.
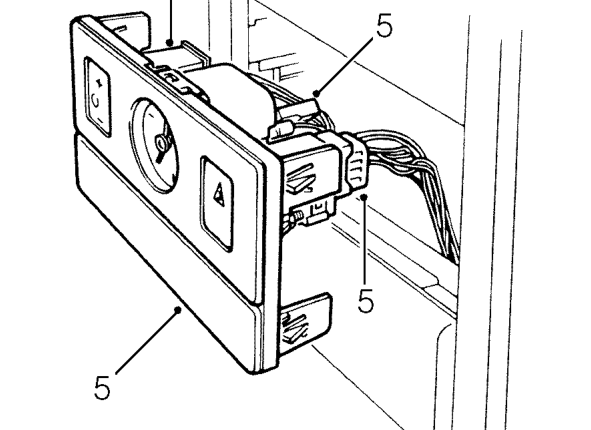
- Release clock panel, disconnect 2 switch multiplugs, clock leads and illumination bulb. Remove panel.
Parts & tools for this job For 1996 Rover 800
- TOOLTrim removal tool kitSearch: trim removal tool kit
- PARTTouch-up paintSearch: Rover touch up paint
- PARTPanel clip assortmentSearch: Rover panel clips assortment
Links open Amazon search results in a new tab. As an Amazon Associate I earn from qualifying purchases.