
All models (page 3 of 3)
- Make
- Rover
- Model
- 800 Workshop Manual
- Year
- 1996–1999
- Section
- Repairs
BodyAll models · page 3 of 3
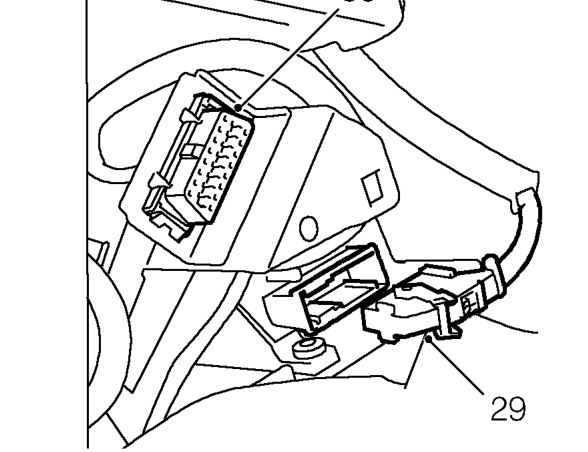
- Release clip and disconnect multiplug from SRS control unit.
- Release TestBook diagnostic socket from fascia bracket.
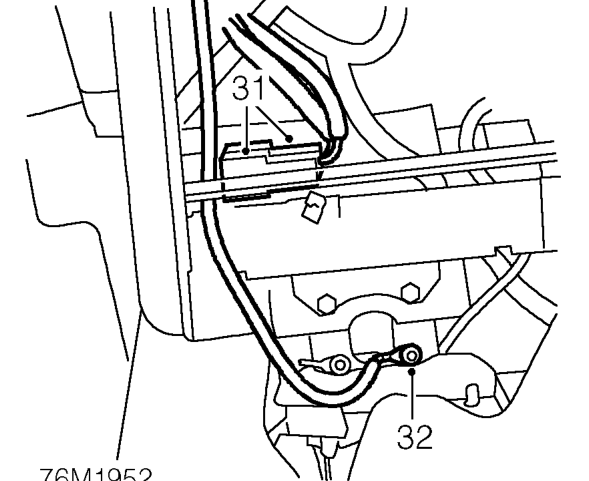
- Release and disconnect 2 seat belt pre-tensioner multiplugs.
- Remove TX30 Torx screw securing SRS harness earth lead to bracket at base of fascia behind ashtray aperture.
- Using assistance, release and remove fascia from vehicle. Do not carry out further dismantling if component is removed for access only.
- Transfer parts from old fascia to new fascia.
Refit
- Using assistance position fascia in vehicle.
- Secure TestBook diagnostic socket to bracket.
- Connect seat belt pre-tensioner harness multiplugs and secure multiplugs to clip.
- Connect SRS control unit multiplug and secure clip.
- Connect air conditioning harness multiplugs
- Secure relays to fascia rail
- Connect fascia to main harness multiplugs.
- Fit and tighten bolt securing top of fascia and secure sunlight sensor.
- Fit and tighten bolt securing fascia behind glove box.
- Fit and tighten bolts securing fascia to body brackets.
- Fit ’A’ post lower trim casings. Fit and tighten screws and fit studs.
- Secure flange finishers.
- Position reinforcing plate and fit and tighten bolts securing base of fascia.
- Fit and tighten end bolts and fit caps.
- Set heater control lever positions.
- Connect cables to levers and secure to abutments.
- Tighten screws securing inner cables.
- Fit carpet finishers and secure studs.
- Position glove box and fit and tighten bolts.
- Fit passenger side closing panel and secure turnbuckles.
- Position clock panel, connect multiplugs clock leads and illumination bulb.
- Secure panel to fascia.
- Fit centre console. See this section.
- Fit radio. See ELECTRICAL, Repairs.
- Fit steering column assembly. See STEERING, Repairs.
- Fit passenger’s air bag module. See RESTRAINT SYSTEMS, Repairs.
Parts & tools for this job For 1996 Rover 800
- TOOLTrim removal tool kitSearch: trim removal tool kit
- PARTTouch-up paintSearch: Rover touch up paint
- PARTPanel clip assortmentSearch: Rover panel clips assortment
Links open Amazon search results in a new tab. As an Amazon Associate I earn from qualifying purchases.