
Test (page 2 of 9)
- Make
- Rover
- Model
- 600 Rover 600 Repair Manual - Volumes 1 and 2 - 2nd Edition
- Section
- Repairs
Automatic gearboxTest · page 2 of 9
WARNING: Make sure lifts, jacks and axle stands are placed properly, and hoist brackets are attached to the correct locations on the engine.
Apply handbrake and chock rear wheels.
CAUTION: Use covers to avoid damaging painted surfaces.
- Disconnect the battery negative (−) cable first, then disconnect the positive (+) cable from the battery.
- Remove the battery clamp plate, then remove the battery.
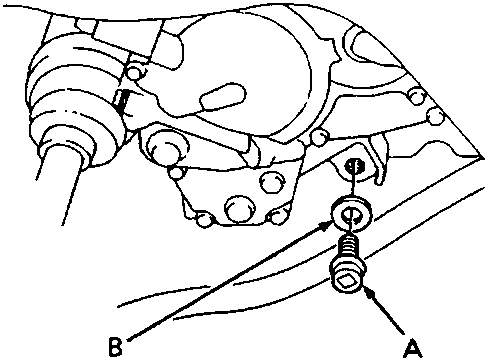
- remove the drain plug, and drain the gearbox fluid. Reinstall the drain plug with a new sealing washer and tighten to 50 Nm.
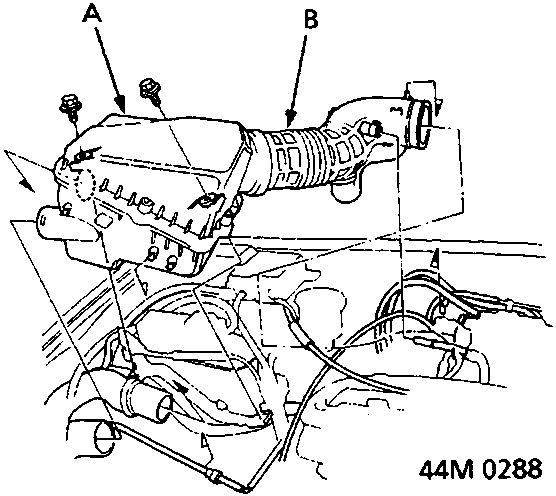
- Remove the air cleaner housing and intake air duct.
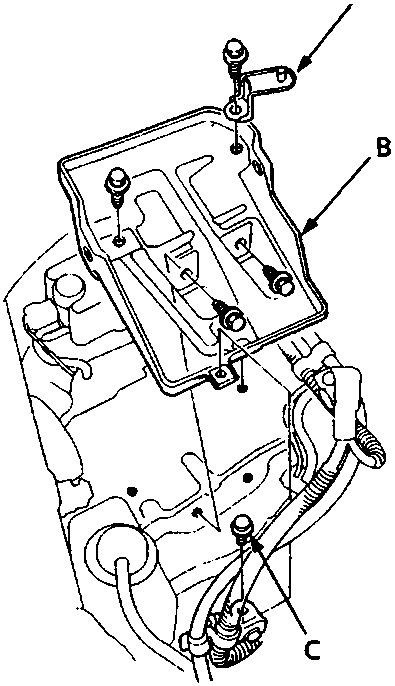
- Remove the bolts securing the battery base and battery cable, then remove the battery base.
Parts & tools for this job For Rover 600
- PARTTransmission filter kitSearch: Rover 600 transmission filter kit
- FLUIDAutomatic transmission fluidSearch: Rover automatic transmission fluid
- TOOLFluid transfer pumpSearch: fluid transfer pump
Links open Amazon search results in a new tab. As an Amazon Associate I earn from qualifying purchases.