
Components (page 7 of 7)
- Make
- Rover
- Model
- 600 Rover 600 Repair Manual - Volumes 1 and 2 - 2nd Edition
- Section
- Repairs
Automatic gearboxComponents · page 7 of 7
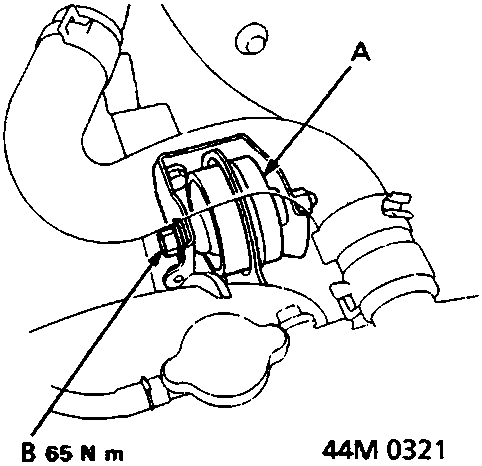
65 Nm
- Refill the transmission with ATF.
- Connect the battery positive ( + ) and negative ( − ) cables to the battery.
- Start the engine. Set the parking brake, and shift the transmission through all gears three times. Check for proper shift cable adjustment.
- Check and adjust the front wheel alignment.
- Let the engine reach operating temperature (the radiator fan comes on) with the transmission in N or P position, then turn it off and check fluid level.
- Road test.
- Loosen the front engine mount bolt after the road test, and retighten it to the specified torque.
Parts & tools for this job For Rover 600
- PARTTransmission filter kitSearch: Rover 600 transmission filter kit
- FLUIDAutomatic transmission fluidSearch: Rover automatic transmission fluid
- TOOLFluid transfer pumpSearch: fluid transfer pump
Links open Amazon search results in a new tab. As an Amazon Associate I earn from qualifying purchases.