
Reassemble (page 7 of 11)
- Make
- Rover
- Model
- 600 Rover 600 Repair Manual - Volumes 1 and 2 - 2nd Edition
- Section
- Repairs
Automatic gearboxReassemble · page 7 of 11
Note: Discard 'O' rings removed from clutches.
For all clutches
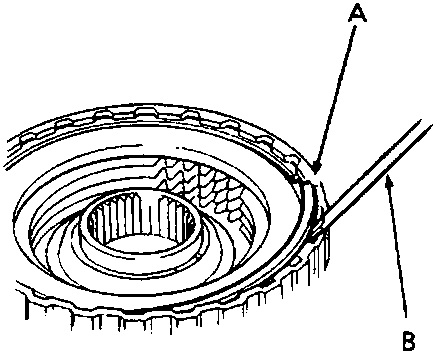
- A Snap ring
- B Screwdriver
- Remove the snap ring, then remove the clutch end plate, clutch discs and plates.
For 1st-hold and 2nd clutches
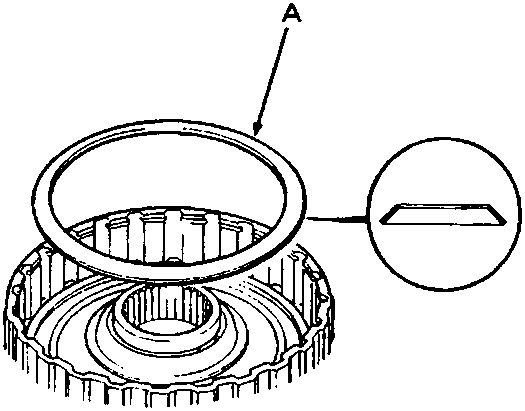
- A Disc spring
- Remove the disc spring.
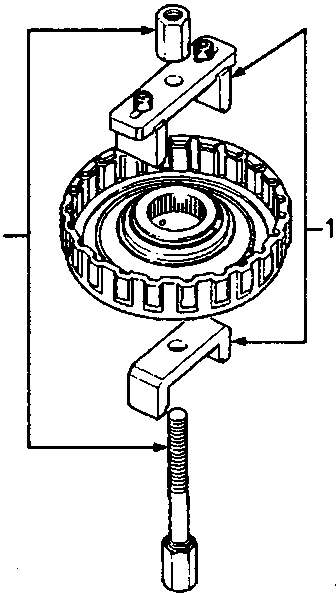
1st, 2nd, 3rd and 4th clutches.
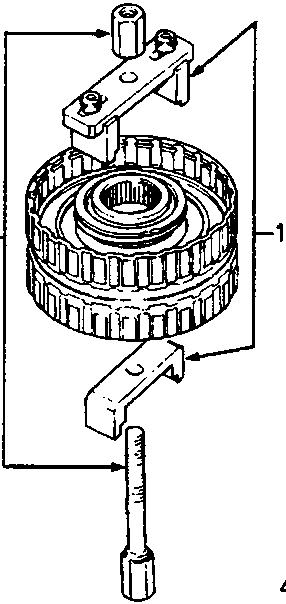
- Use tools to compress clutch springs.
Parts & tools for this job For Rover 600
- PARTTransmission filter kitSearch: Rover 600 transmission filter kit
- FLUIDAutomatic transmission fluidSearch: Rover automatic transmission fluid
- TOOLFluid transfer pumpSearch: fluid transfer pump
Links open Amazon search results in a new tab. As an Amazon Associate I earn from qualifying purchases.