
Battery
- Make
- Rover
- Model
- 200 Workshop Manual
- Year
- 1995–1999
- Section
- Repairs › Battery
ElectricalBattery · page 1 of 2
BATTERY
Service repair no - 86.15.01
Remove
- Disconnect both battery leads, earth lead first.
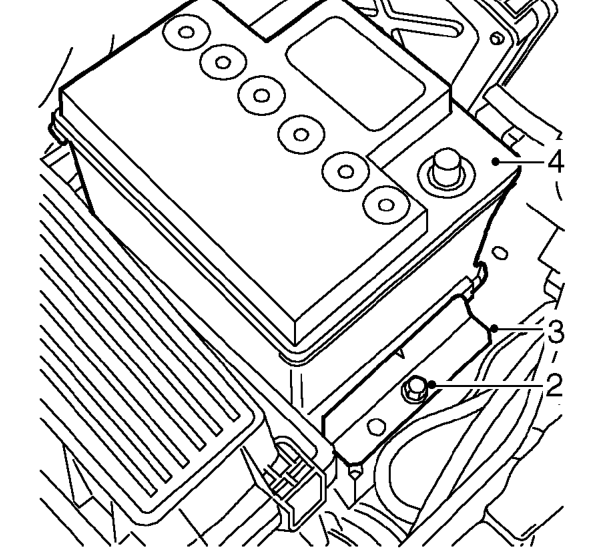
- Remove bolt securing battery clamp to battery tray.
- Remove battery clamp.
- Release and remove battery from vehicle.
Refit
- Clean battery terminals and coat with petroleum jelly.
- Position battery to battery tray.
- Fit battery clamp and secure with bolt.
- Position and connect battery leads, earth lead last
FRONT DOOR GLASS MOTOR
Service repair no - 86.25.04
Remove
- Remove front door glass. See BODY, Interior trim components.
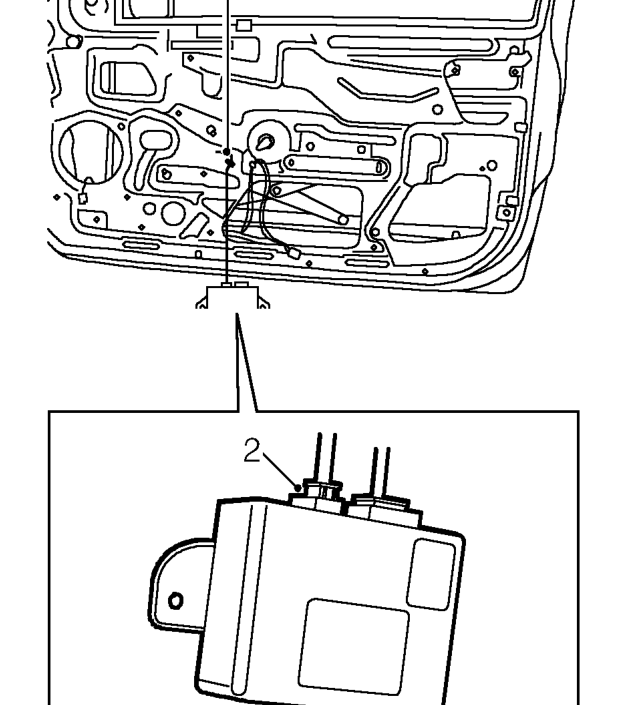
- Disconnect door glass motor multiplug and release harness clip from door.
NOTE: Mark position of roller guide bolts on door before removal.
Parts & tools for this job For 1995 Rover 200
- TOOLBattery testerSearch: car battery tester
- TOOLDigital multimeterSearch: automotive digital multimeter
- TOOLBattery terminal cleanerSearch: battery terminal cleaner
Links open Amazon search results in a new tab. As an Amazon Associate I earn from qualifying purchases.