
Alternator - ’l’ series with air conditioning (page 3 of 3)
- Make
- Rover
- Model
- 200 Workshop Manual
- Year
- 1995–1999
- Section
- Repairs
ElectricalAlternator - ’l’ series with air conditioning · page 3 of 3
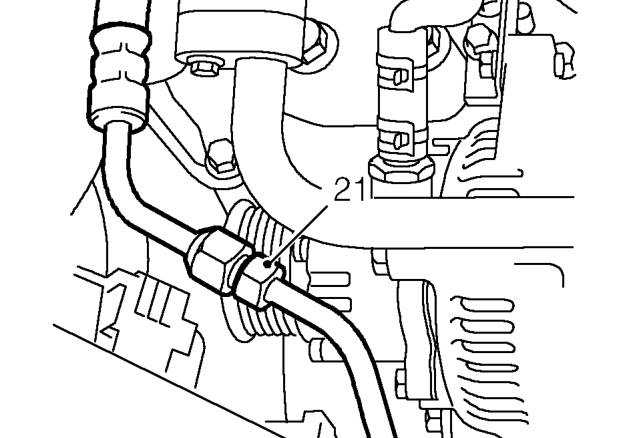
- Loosen union and disconnect high pressure hose from PAS pump.
CAUTION: To prevent damage to pipes or components, use two spanners when loosening or tightening unions.
- Raise engine to gain access to alternator lower mounting bolt.
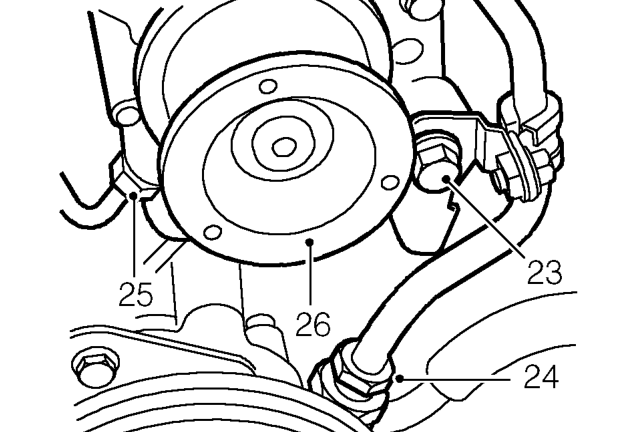
- Remove alternator lower mounting bolt.
- Loosen union and remove pipe from PAS pump.
- Loosen union and disconnect oil feed pipe from brake servo vacuum pump.
- Release alternator from mounting bracket.
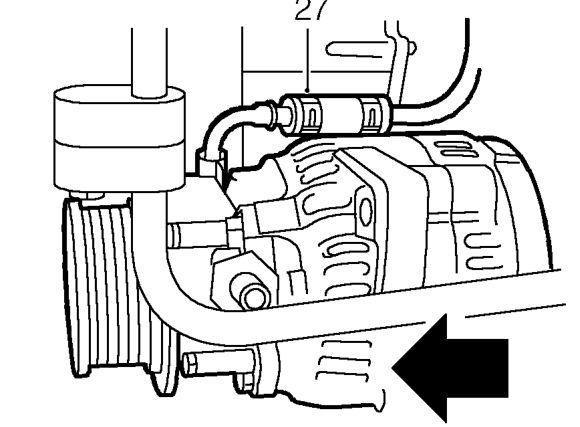
- Release clip and disconnect oil drain pipe from vacuum pump.
- Manoeuvre alternator out between air conditioning pipe and power steering pump.
CAUTION: Plug the connections.
Do not carry out further dismantling if component is removed for access only.
- Transfer vacuum pump to new alternator. See BRAKES, Repairs.
Refit
- Remove plugs from connections.
- Clean all pipe connections.
- Position alternator on mounting bracket.
- Connect oil drain pipe to brake servo vacuum pump and secure with clip.
- Connect oil feed pipe to brake servo vacuum pump and tighten union to 18 Nm.
CAUTION: To prevent damage to pipes or components, use two spanners when loosening or tightening unions.
- Remove and discard 2 ’O’ rings from PAS high pressure pipe and hose.
- Lubricate new ’O’ rings with clean power steering fluid and fit to power steering pipe and hose.
- Fit PAS pipe to pump and tighten union to 20 Nm.
- Align alternator to mounting bracket and fit alternator lower mounting bolt.
Parts & tools for this job For 1995 Rover 200
- TOOLBattery testerSearch: car battery tester
- TOOLDigital multimeterSearch: automotive digital multimeter
- TOOLBattery terminal cleanerSearch: battery terminal cleaner
Links open Amazon search results in a new tab. As an Amazon Associate I earn from qualifying purchases.