
Sending Unit Test/Replacement
- Make
- Rover
- Model
- 600 Rover 600 Repair Manual - Volumes 1 and 2 - 2nd Edition
- Section
- Repairs › Sending Unit Test/Replacement
ElectricalSending Unit Test/Replacement
- Turn the ignition switch OFF (0), and connect a jumper wire between the YEL/WHT terminal and earth.
CAUTION: Do not connect power and earth to the terminals; it will damage the fuel gauge.
- Turn the ignition switch ON (II), and check if the gauge indicates "1".
CAUTION: Disconnect the jumper wire as soon as the gauge reaches "1", or you will damage the gauge.
- If the fuel gauge does not work at all, replace it.
- If the fuel gauge is OK, inspect the sending unit.
Sending Unit Test/Replacement
WARNING: Do not smoke while working on the fuel system. Keep open flames away from the work area.
- Open the boot and remove the floor trim panel, then turn the right rear seat forward.
- Remove the fuel tank access panel.
- Disconnect the 3-P connector from the fuel gauge sending unit.
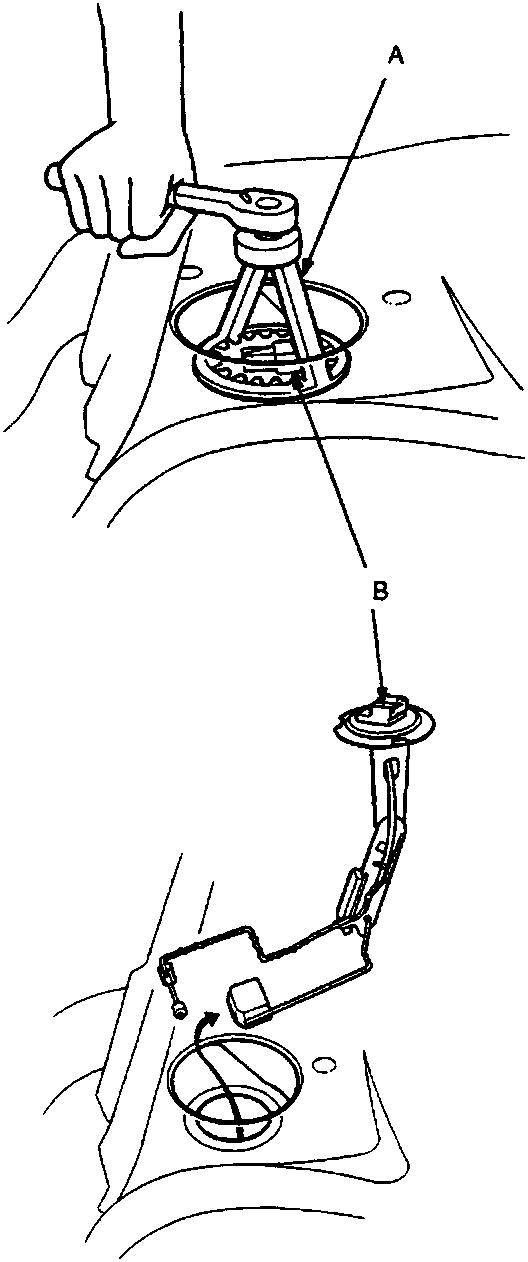
- Fuel sender spanner
- Fuel sender unit
86M 2103
- Remove the fuel gauge sending unit.
- Check if the resistance between the B and C terminals changes evenly as the position of the float changes.
- If it does not change evenly, replace the fuel sending unit.
- If it changes evenly, go to step 7.
Parts & tools for this job For Rover 600
- TOOLDigital multimeterSearch: automotive digital multimeter
- PARTAssorted fuse kitSearch: car fuse assortment kit
- TOOLWire crimper and connector kitSearch: wire crimper connector kit
Links open Amazon search results in a new tab. As an Amazon Associate I earn from qualifying purchases.