
Boot Light Test/Replacement
- Make
- Rover
- Model
- 600 Rover 600 Repair Manual - Volumes 1 and 2 - 2nd Edition
- Section
- Repairs › Boot Light Test/Replacement
ElectricalBoot Light Test/Replacement · page 1 of 3
Boot Light Test/Replacement
Note: The bulb or lens alone can be replaced without removing the boot light housing.
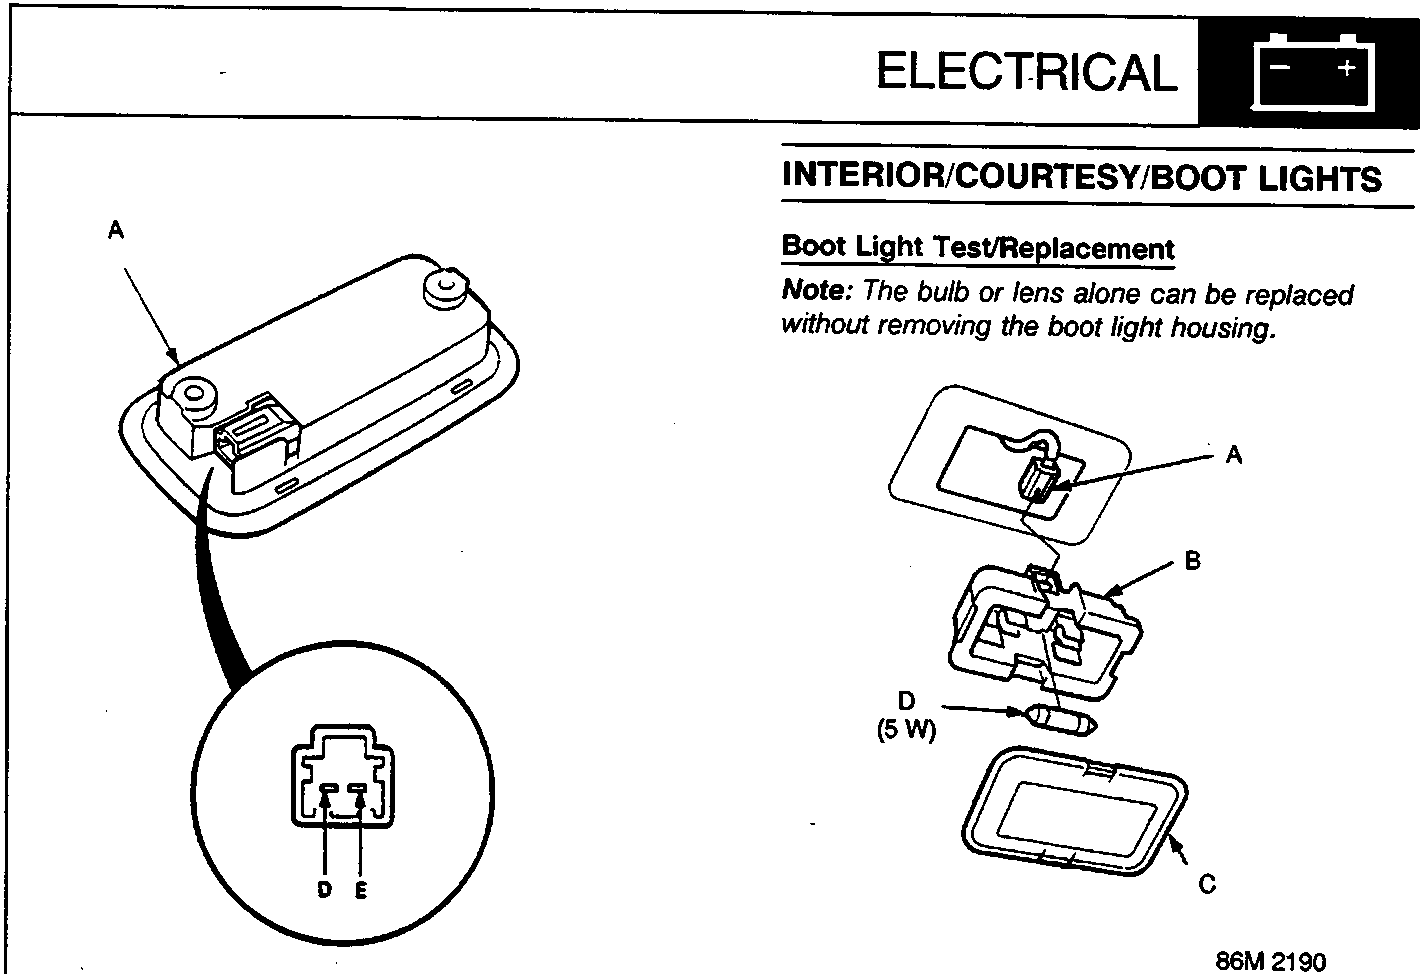
A 2–P Connector
B Housing
C Lens
D Bulb (5W)
- Ease the boot light from the trim panel.
- Disconnect the 2–P connector from the light.
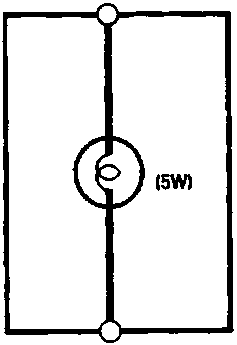
A Rear interior light
B From No. 29 (15A) fuse
C To front interior light
- Check for continuity between the D and E terminals with the bulb in the socket. There should be continuity.
- If there is no continuity, replace the bulb.
Parts & tools for this job For Rover 600
- TOOLDigital multimeterSearch: automotive digital multimeter
- PARTAssorted fuse kitSearch: car fuse assortment kit
- TOOLWire crimper and connector kitSearch: wire crimper connector kit
Links open Amazon search results in a new tab. As an Amazon Associate I earn from qualifying purchases.